

Setting Up Selenium Grid with Docker
Introduction:
Welcome to our beginner-friendly guide to setting up Selenium Grid with Docker! In this blog post, we’ll walk you through the process of creating a scalable and distributed testing environment using two powerful tools: Selenium Grid and Docker.
What is Selenium Grid?
Selenium Grid is a tool used for parallel and distributed testing of web applications across multiple browsers and platforms. It allows you to execute tests simultaneously on different machines, speeding up the testing process and increasing efficiency.
What is Docker?
Docker is a platform that allows you to package, distribute, and run applications in lightweight, isolated containers. Containers provide a consistent environment for running software, making it easy to deploy applications across different environments without worrying about compatibility issues.
Prerequisites:
Before we begin, make sure you have the following prerequisites installed on your system:
- Docker: You can download and install Docker Desktop from the official Docker website for your operating system.
- Basic understanding of the command line interface (CLI).
Read More – What are the Linux Commands ? with examples.
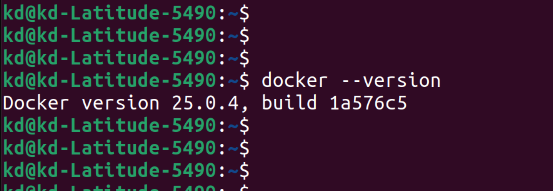
To check docker installed or not :
$ docker --version
Step 1: Pulling the Selenium Standalone Chrome Image from Docker Hub
The first step is to pull the Selenium Standalone Chrome image from Docker Hub. This image contains a Selenium Grid node configured to use Google Chrome as the browser.
Open your terminal or command prompt and run the following command:
$ docker pull selenium/standalone-chrome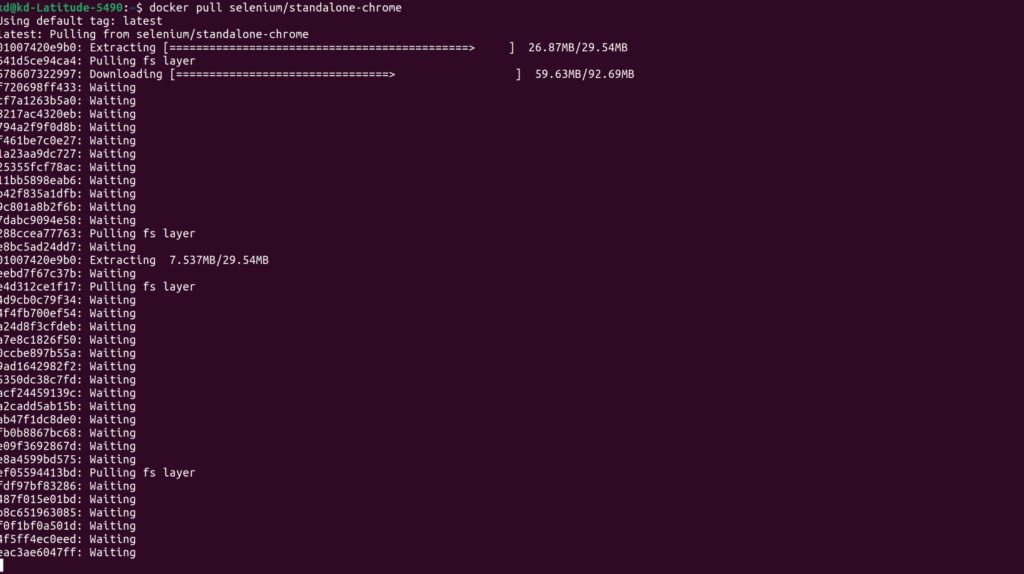
The command docker pull selenium/standalone-chrome is used to pull the Docker image named “selenium/standalone-chrome” from the Docker Hub registry to your local machine. This image contains a Selenium Grid node configured to use Google Chrome as the browser.
Here’s a breakdown of the command:
docker pull: This command is used to fetch Docker images from a registry, such as Docker Hub.selenium/standalone-chrome: This is the name of the Docker image you want to pull. It specifies that you want to pull the “standalone-chrome” image from the “selenium” repository on Docker Hub.
By running this command, Docker will download the latest version of the “selenium/standalone-chrome” image (if not already present) to your local machine, making it available for use in Docker containers. Once the image is pulled, you can use it to create and run Docker containers, such as setting up Selenium Grid nodes for automated testing.
Step 2: Running Selenium Grid Node Container
Now that we have the Selenium Grid image, let’s run a Selenium Grid node container using this image. The following command will create a container named “selenium_grid” based on the Selenium Standalone Chrome image:
$ docker run -d -p 4444:4444 -e SE_NODE_SESSION_TIMEOUT=300 -e SE_NODE_OVERRIDE_MAX_SESSIONS=true -e SE_NODE_MAX_SESSIONS=6 --shm-size="3g" --name selenium_grid selenium/standalone-chrome:latest
This Docker command is used to run a Selenium Grid node container based on the Selenium Standalone Chrome image. Let’s break down the components of this command:
docker run: This command is used to create and start a new Docker container.-d: This flag runs the container in detached mode, meaning it runs in the background.-p 4444:4444: This option maps port 4444 of the Docker container to port 4444 of the host machine. Port 4444 is commonly used for Selenium Grid hub communication.-p 7900:7900: This option maps port 7900 of the Docker container to port 7900 of the host machine. Port 7900 is used for debugging purposes.-e SE_NODE_SESSION_TIMEOUT=300: This sets the session timeout for the node to 300 seconds (5 minutes). This means that if a session is inactive for more than 5 minutes, it will be automatically terminated.-e SE_NODE_OVERRIDE_MAX_SESSIONS=true: This environment variable overrides the maximum session limit defined by the hub.-e SE_NODE_MAX_SESSIONS=6: This sets the maximum number of concurrent sessions allowed for the node to 6.--shm-size="3g": This option sets the size of the shared memory space for the container to 3 gigabytes. Shared memory is used for communication between the container and the browser.--name selenium_grid: This option assigns the name “selenium_grid” to the Docker container.selenium/standalone-chrome:latest: This is the name of the Docker image used to create the container. It specifies that the container should be based on the latest version of the Selenium Standalone Chrome image available on Docker Hub.
Overall, this command creates and starts a Docker container running a Selenium Grid node configured to use Chrome as the browser. It exposes ports 4444 and 7900 for communication and debugging purposes, sets session-related configurations, and limits the maximum number of concurrent sessions.

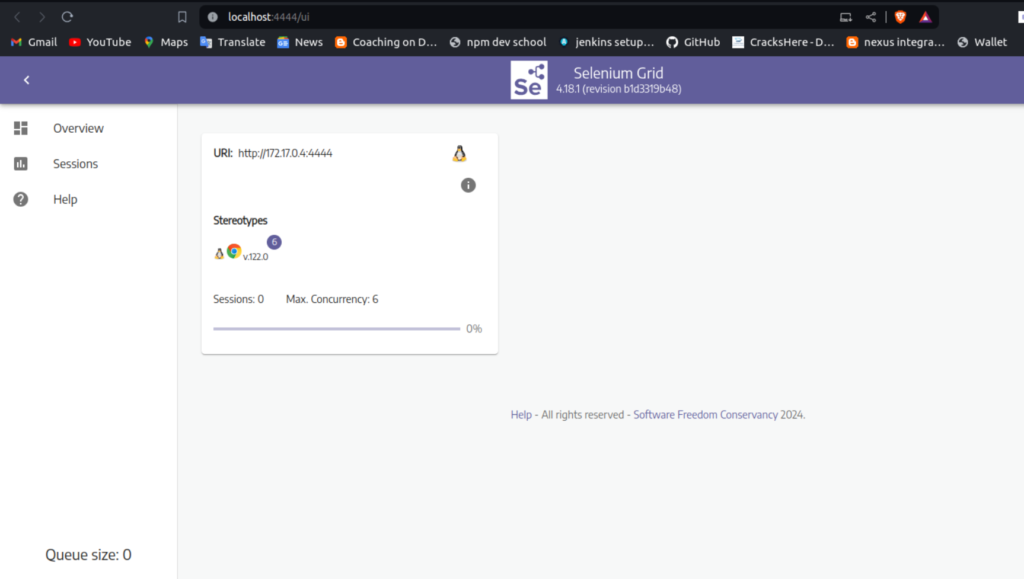
Step 3: Accessing Selenium Grid Console
You can now access the Selenium Grid console by opening a web browser and navigating to http://localhost:4444/grid/console. This console allows you to view the status of your grid and manage the nodes.
We hope this guide has been helpful in getting you started with Selenium Grid and Docker. Happy testing!
Feedback and Questions:
If you have any feedback or questions, feel free to reach out to us. We’d love to hear from you!

- ArgoCD Okta integration - July 2, 2026
- Jenkins Okta Integration - June 22, 2026
- Install Apache Tomcat using Ansible – Complete Guide - June 16, 2026