
Jenkins setup using docker volume
Introduction:
In the field of continuous integration and continuous deployment (CI/CD), Jenkins stands as a leading tool, empowering development teams to efficiently automate their build, test, and deployment processes. However, ensuring the persistence of Jenkins data across the container lifecycle can be challenging. Docker volumes provide a solution by enabling external storage of Jenkins data, providing flexibility and resiliency. In this blog post, we will explain in detail the steps required to set up Jenkins with Docker volumes for persistent data storage.
Prerequisites:
Before we begin, ensure that Docker is installed on your system. You can
download and install Docker from the official Docker website.
Step 1: Create Docker Volume
The first step involves creating a Docker volume to persistently store Jenkins data. Execute the following commands in your terminal:
$ docker volume create jenkins-data-new

This command will create a Docker volume named “jenkins-data-new”.
Read Also-Monitoring dashboard for Jenkins memory usage analysis
Step 2: Run Jenkins Container with Docker Volume
Next, run the Jenkins container, making sure that it mounts the previously created Docker volume. Execute the following commands:
$ docker run -p 8080:8080 -p 50000:50000 -v jenkins-data-new:/var/jenkins_home jenkins/jenkins:lts

Step 3: Access Jenkins
Once the container is running, you can access Jenkins by opening a web browser and navigating to http://localhost:8081.
Localhost:8081
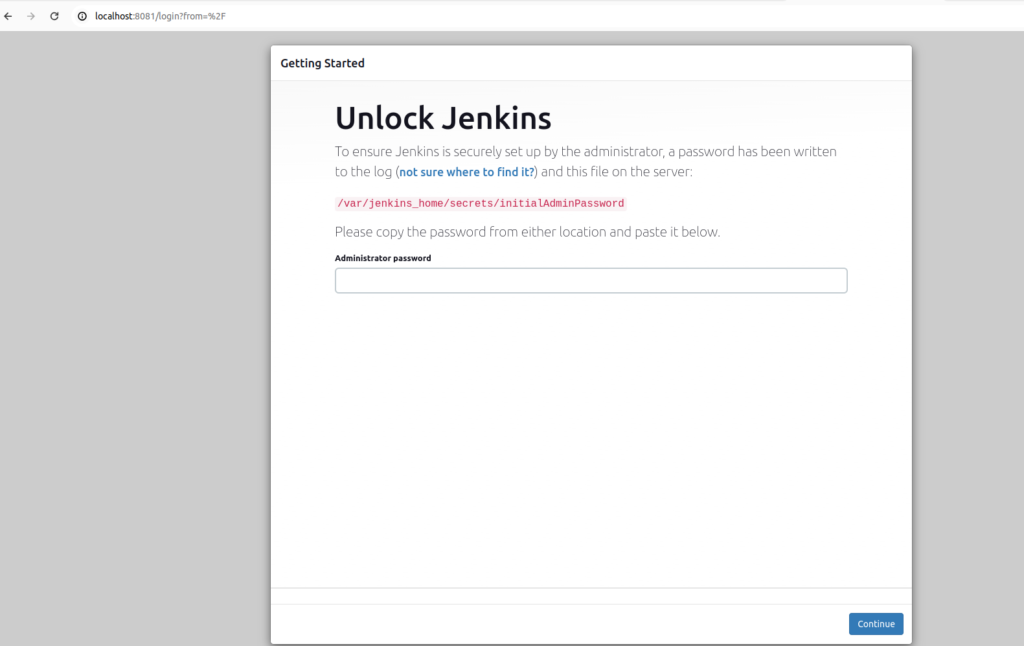
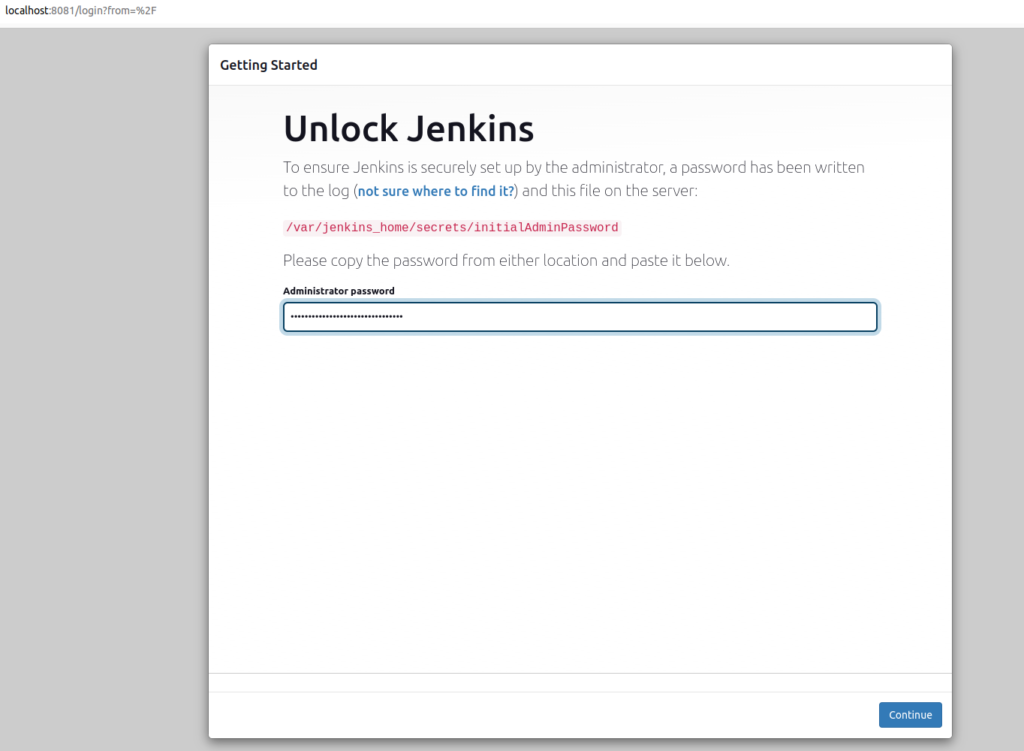
Step 4: Unlock Jenkins
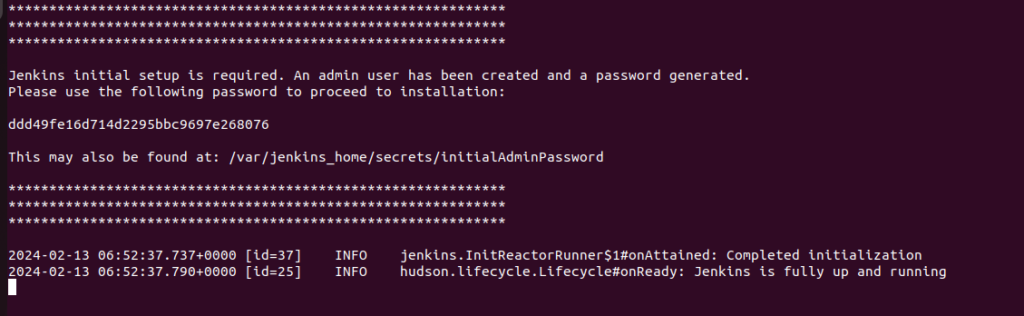
copy that password and paste it on Administrator Password.
Then click on continue.
Step 5: Install Plugins and Configure Jenkins
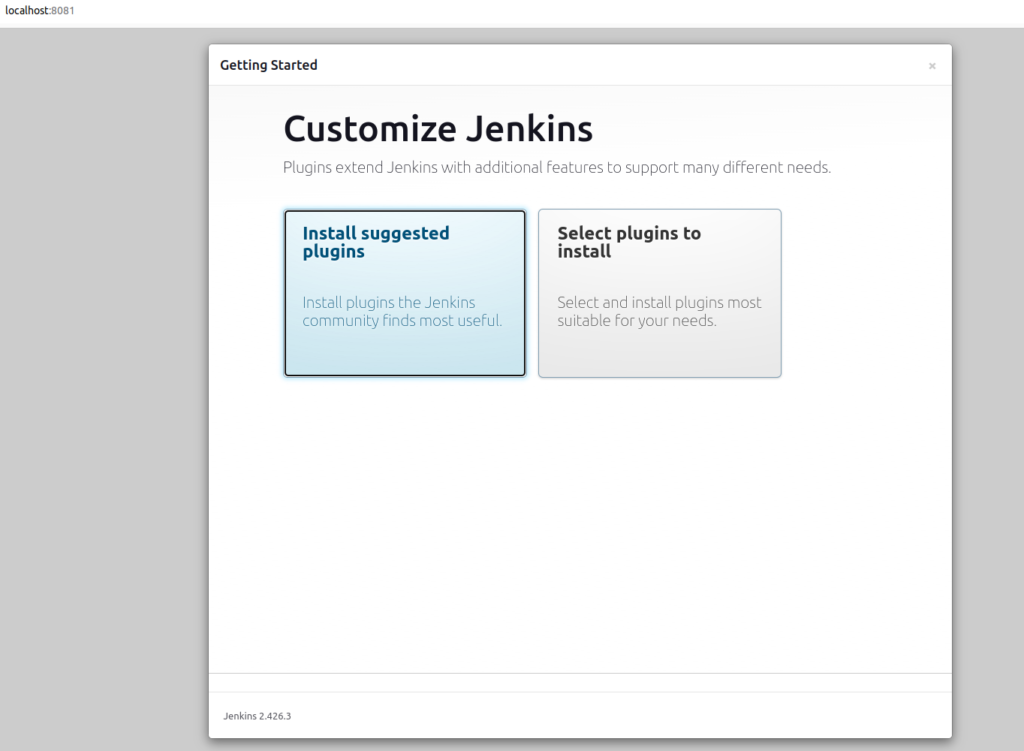
As soon as you click on the Continue button, you will be redirected to a page suggesting you to install suggested plugins. After that, click on “Install recommended plugins”.
Please note that if users want to install only selected essential plugins, it is recommended to select the “Select plugins to install” option.
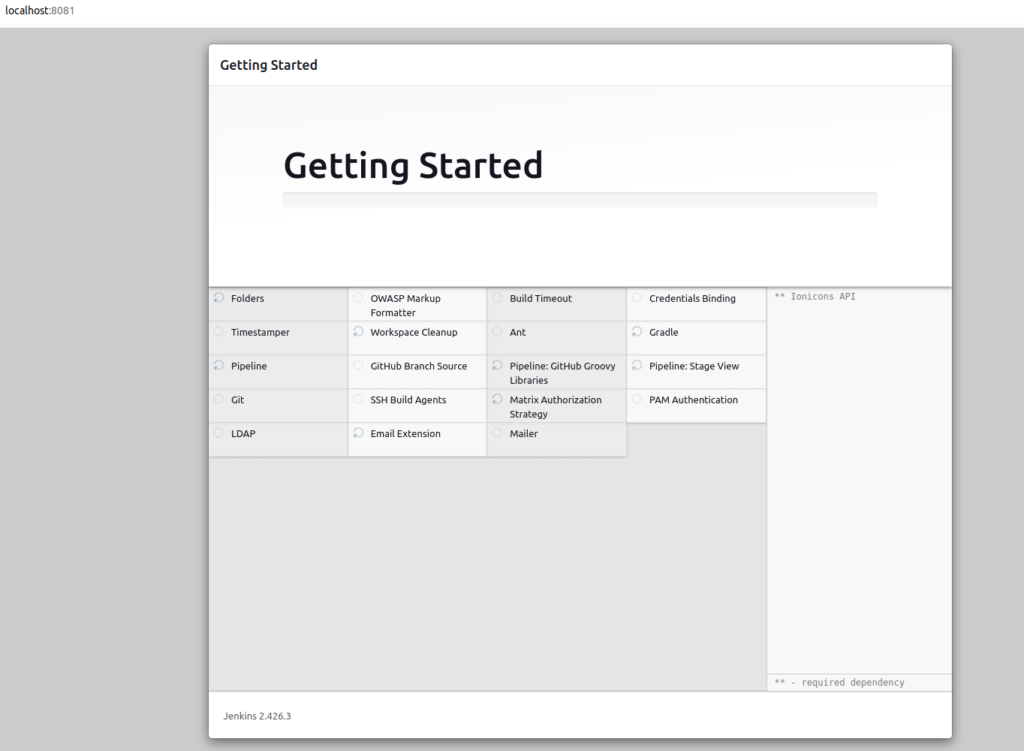
After clicking the Suggested Plugins button, the standard plugin installation will automatically start as displayed
Finally, after installation of all the suggested plugins, you will be redirected to the user account page.
Put username, new password that you want to put.
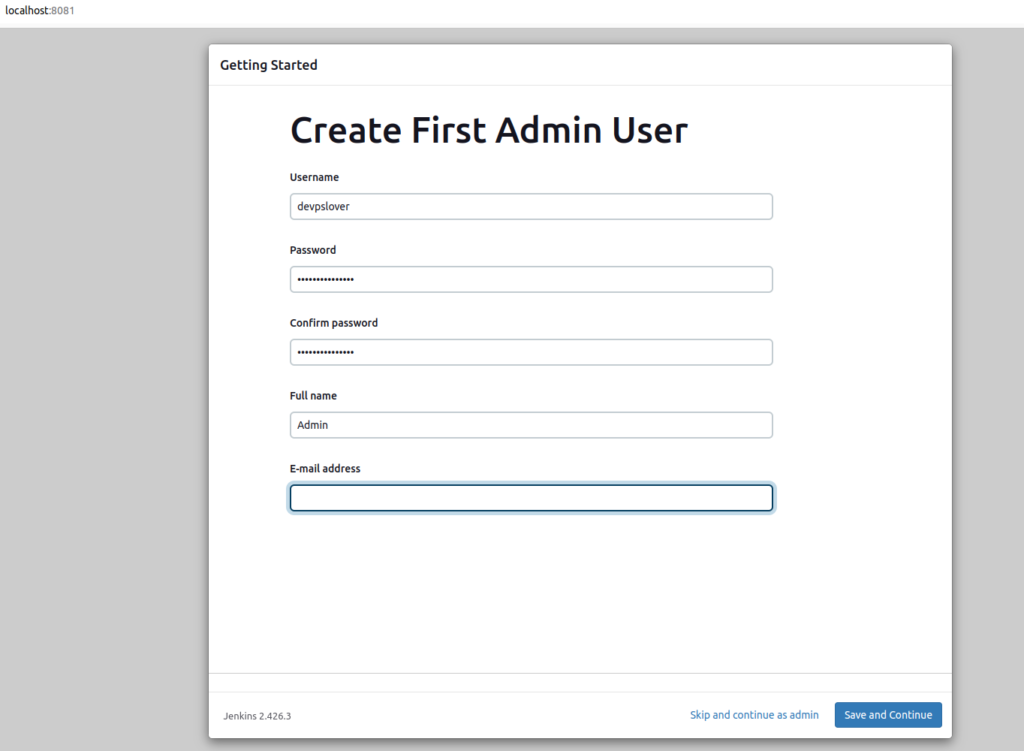
Then click on save and finish.
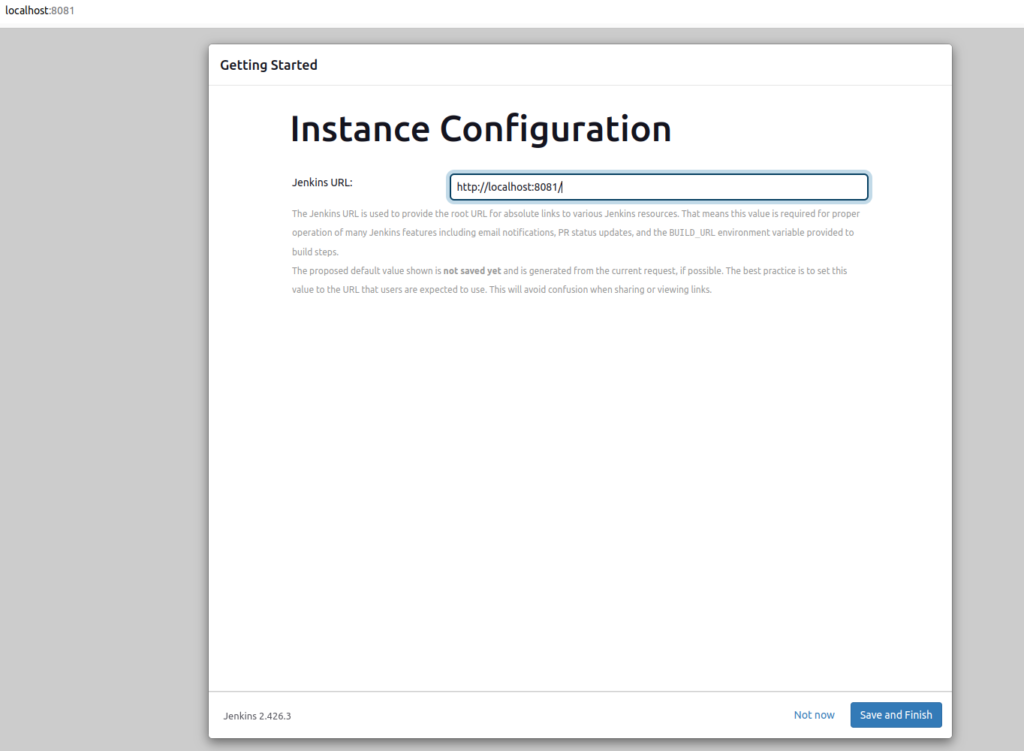
After clicking, you will be redirected to a new screen that will display a message like
“Jenkins is Ready”. Now click on the “Start using Jenkins” button.
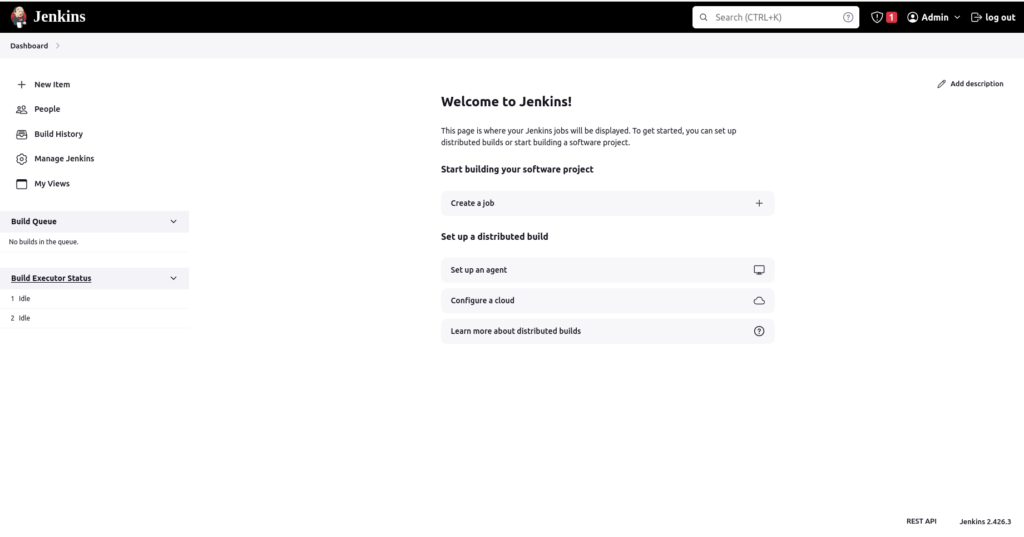
Here is the jenkins setup using docker volume complete.
Hope you like this blog….

- ArgoCD Okta integration - July 2, 2026
- Jenkins Okta Integration - June 22, 2026
- Install Apache Tomcat using Ansible – Complete Guide - June 16, 2026