
Introduction:
Deploying Java applications manually across multiple Linux servers is time-consuming and error-prone. With Ansible, you can automate the complete deployment process, including installing Java, copying the application, creating a systemd service, and starting the application.
In this tutorial, you’ll learn how to deploy a Spring Boot Java application using Ansible from scratch.
Prerequisites:
Before starting, ensure you have the following:
- Ubuntu 22.04 Control Node
- One or more Ubuntu Target Servers
- SSH access from the control node to target servers
- Sudo privileges
- Ansible installed on the control node
- A Spring Boot JAR file
Architecture:
     +----------------------+
                 |   Ansible Control    |
                 |       Server         |
                 +----------+-----------+
                            |
                    SSH Connection
                            |
          ----------------------------------
          |                                |
+---------------------+        +---------------------+
| Java Application VM |        | Java Application VM |
|     Target Node     |        |     Target Node     |
+---------------------+        +---------------------+
Assignment Objective:
Using Ansible, you will:
- Install Java
- Create an application directory
- Copy the Spring Boot JAR file
- Create a systemd service
- Start the application
- Enable automatic startup after reboot
- Verify the deployment
Step 1: Install Ansible
sudo apt update
sudo apt install ansible -y
Verify the installation.
ansible --version
Step 2: Verify SSH Connectivity
Test connectivity with the target server.
ssh ubuntu@192.168.1.20
Exit the server.
exit
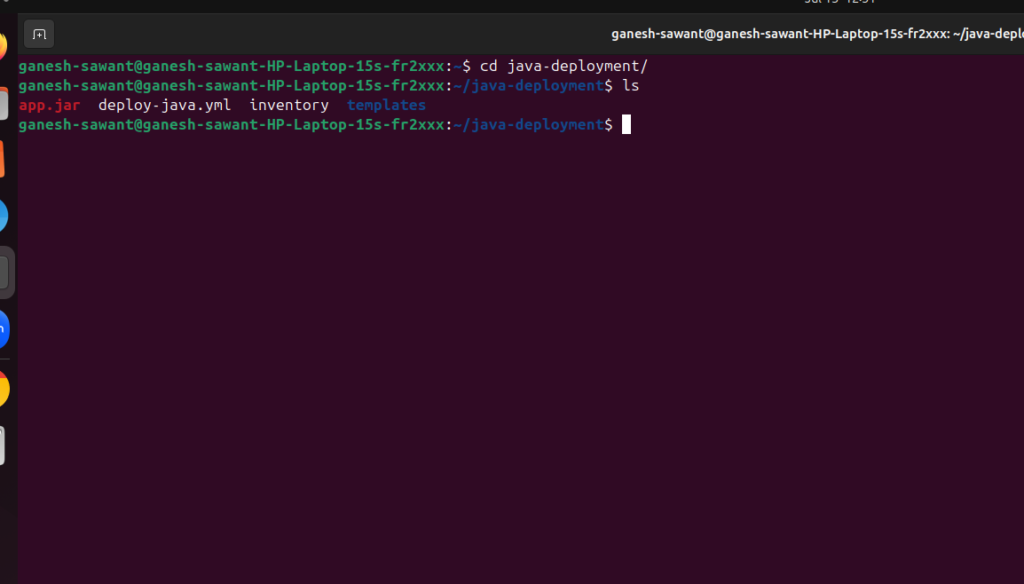
Step 3: Create the Project Directory
mkdir java-deployment
cd java-deployment
Project structure:
java-deployment/
├── inventory
├── deploy-java.yml
├── app.jar
└── templates
             └── java-app.service.j2
Step 4: Create the Inventory File
[java] 192.168.1.20 ansible_user=ubuntuVerify the inventory.
ansible-inventory -i inventory --list
Step 5: Copy the Spring Boot Application
Place your application inside the project directory.
java-deployment/
app.jar
Step 6: Create the Playbook
vim deploy-java.yml
Add the following playbook.
name: Deploy Java Application
hosts: java
become: yes vars:
app_directory: /opt/java-app
tasks:
– name: Install Java
apt:
name: openjdk-17-jdk
state: present
update_cache: yes
– name: Create application directory
file:
path: “{{ app_directory }}”
state: directory
mode: ‘0755’
– name: Copy JAR
copy:
src: app.jar
dest: “{{ app_directory }}/app.jar”
mode: ‘0755’
– name: Create systemd service
template:
src: templates/java-app.service.j2
dest: /etc/systemd/system/java-app.service
– name: Reload systemd
systemd:
daemon_reload: yes
– name: Enable Service
service:
name: java-app
enabled: yes
– name: Start Service
service:
name: java-app
state: started
Save the file.
Step 7: Create the Systemd Service Template
Create the templates directory.
mkdir templatesvim templates/java-app.service.j2
[Unit]
Description=Java Application
After=network.target

[Service]
User=root
WorkingDirectory=/opt/java-app
ExecStart=/usr/bin/java -jar /opt/java-app/app.jar
Restart=always
RestartSec=5

[Install]
WantedBy=multi-user.target
save it
Step 8: Verify the Playbook
Check the playbook syntax.
ansible-playbook -i inventory deploy-java.yml --syntax-check

Step 9: Perform a Dry Run
ansible-playbook -i inventory deploy-java.yml --check
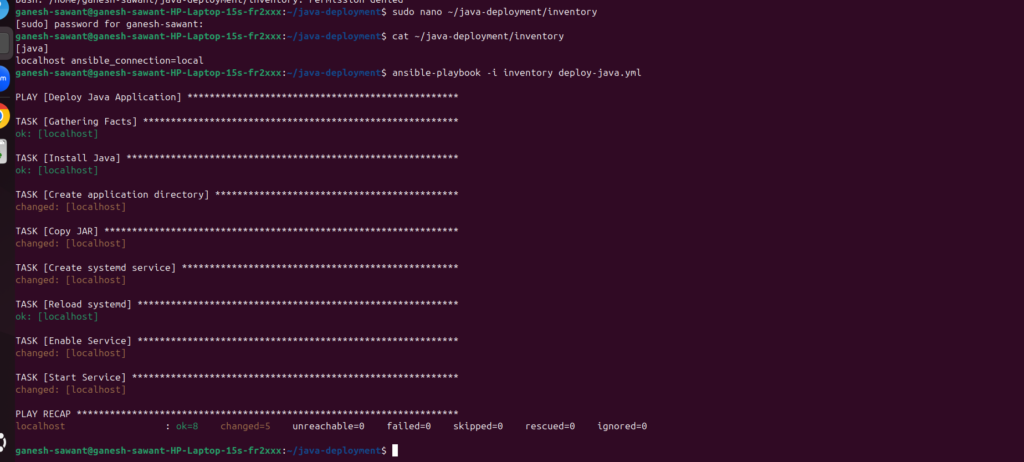
Step 10: Run the Playbook
Execute the deployment.
ansible-playbook -i inventory deploy-java.yml
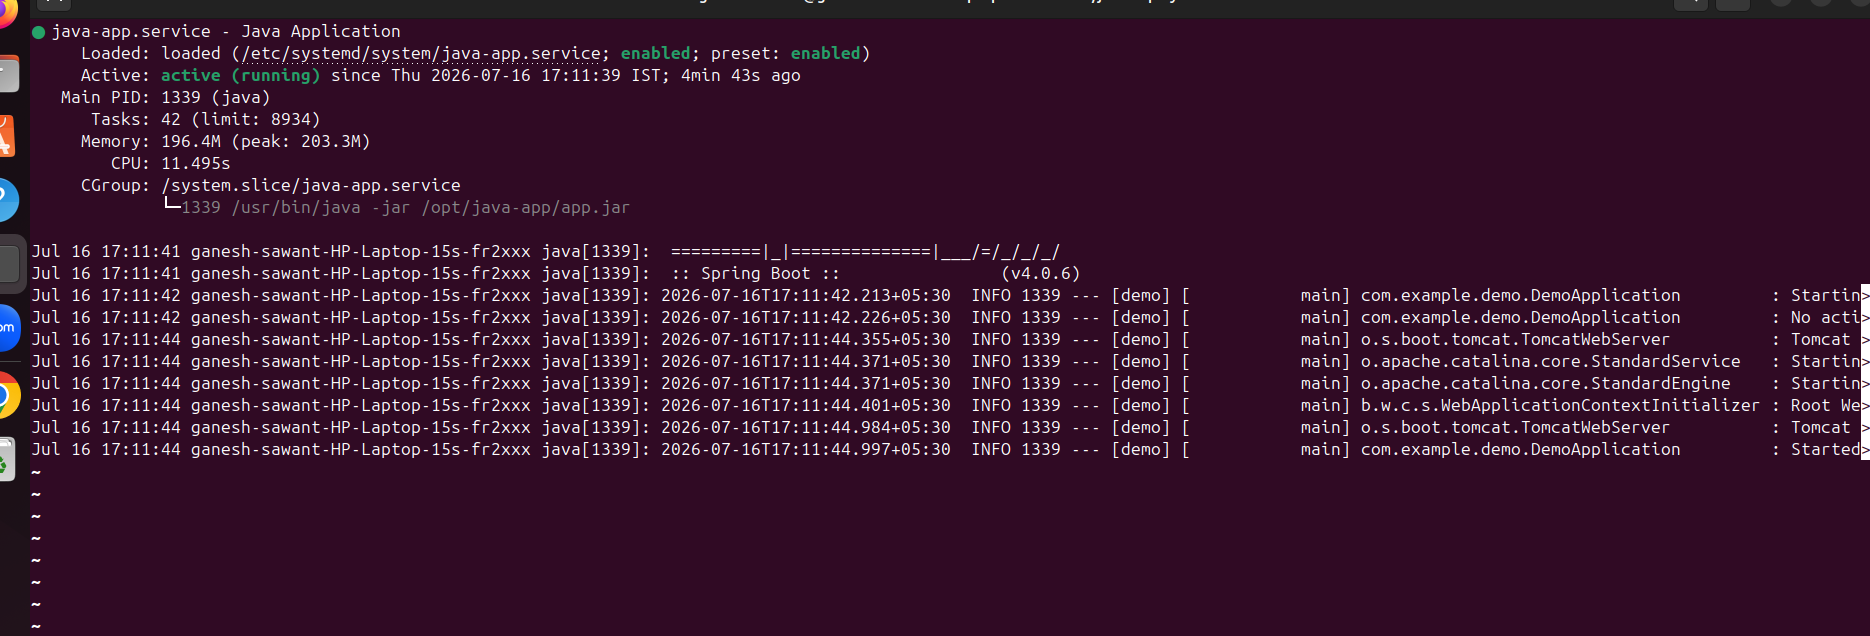
Step 11: Check Service Status
sudo systemctl status java-app
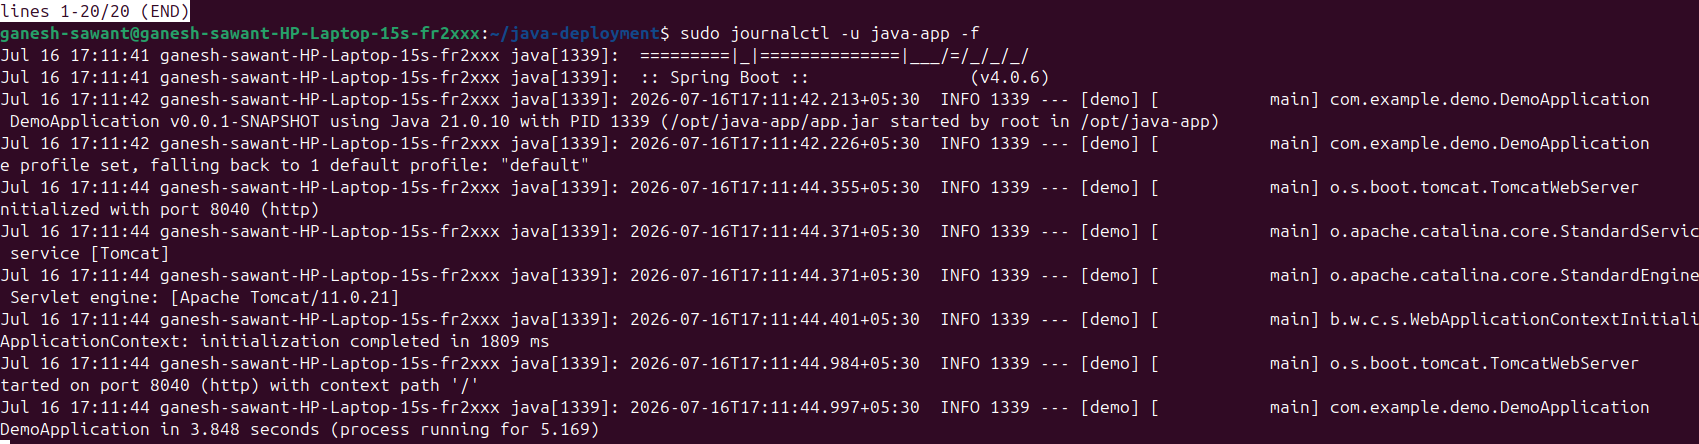
Step 12: Check the logs
sudo journalctl -u java-app -f
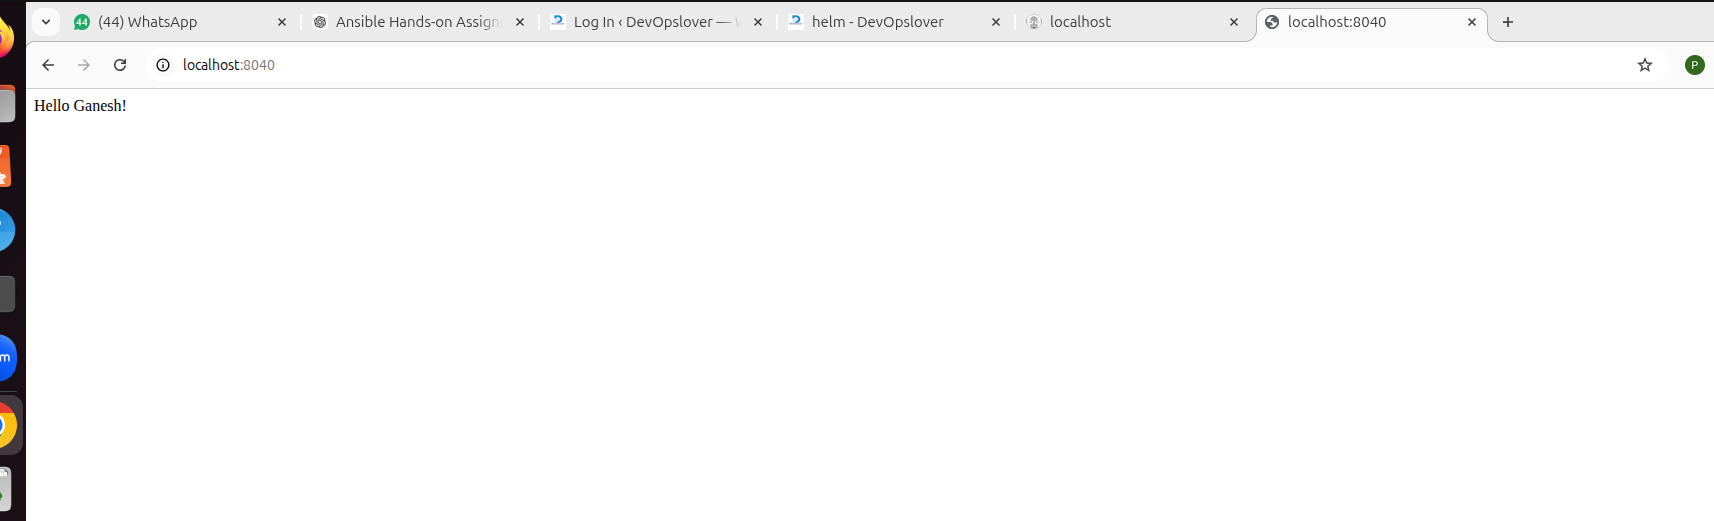
Open browser
http://localhost:8040
Project Directory Structure
java-deployment/
├── inventory
├── deploy-java.yml
├── app.jar
└── templates
               └── java-app.service.j2
Best Practices
- Use Ansible variables instead of hardcoding values.
- Store sensitive information with Ansible Vault.
- Test playbooks using
--checkbefore deployment. - Organize reusable automation using Ansible Roles.
- Maintain separate inventories for development, staging, and production.
- Keep playbooks in version control using Git.
Conclusion:
In this guide, you learned how to automate the deployment of a Spring Boot Java application using Ansible. By creating an inventory, writing a playbook, deploying the JAR file, configuring a systemd service, and verifying the application, you can consistently deploy Java applications across multiple servers with minimal manual effort. As your infrastructure grows, you can further enhance this setup by adopting Ansible Roles, Vault for secret management, and CI/CD integration with Jenkins or GitHub Actions.

- How to Create a Server on AWS – Step-by-Step Guide for Beginners - September 2, 2026
- Helm GitOps Integration: A Complete Step-by-Step Guide for Beginners - August 6, 2026
- DevOps Engineer vs Platform Engineer vs Site Reliability Engineer (SRE) - August 4, 2026