
MySQL Docker Verification – Introduction
Docker simplifies the setup and management of the database, allowing developers to quickly spin up individual instances. This is particularly useful for MySQL, a popular relational database management system. Verifying MySQL in a Docker container not only increases portability but also ensures stability across different development environments.
Prerequisites
Before diving into the verification process, make sure that Docker is installed on your machine. You can download Docker from the official website
Running a MySQL Docker Container
If you need to quickly set up a database without using too many resources, deploying MySQL in a container is a fast and efficient solution. It is only suitable for small and medium sized applications. Enterprise-level applications will not find enough MySQL Docker containers for their workload.
Using Docker software to set up your database is becoming increasingly popular for small-scale apps. Instead of having a next server for database hosting, you can deploy a MySQL container.
You can have multiple containers running on your computer. Containers share the same kernel and libraries as the host while packaging deployed applications or software into single units. This makes the database exceptionally lightweight and fast to spin up.
Installing a MySQL Docker Container
Installing a database in Docker is simply creating a container based on a MySQL image. Follow the steps below to get your MySQL container up and running.
Read Also – Differance between Jenkins Scripted Pipeline and Declarative Pipeline
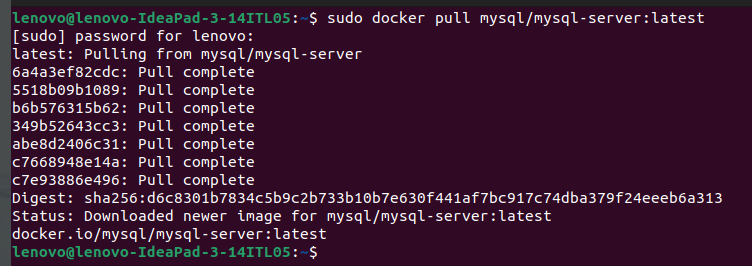
Step 1: Pull the MySQL Docker Image
MySQL pull image:
Make sure you have pulled the MySQL Docker image. You can do this by running:
$sudo docker pull mysql/mysql-server:latest
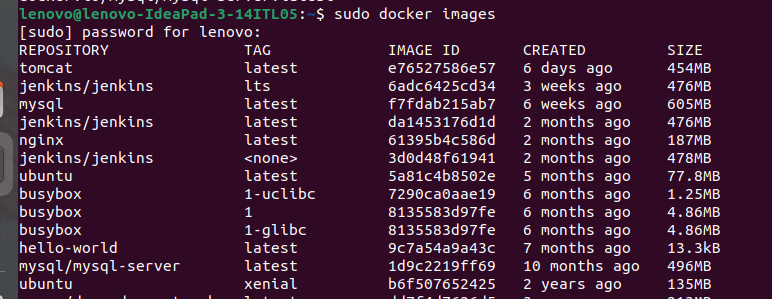
2. Verify the image is now stored locally by listing the downloaded Docker
images:
$ sudo docker images
Step2 : Run MySQL Container:
Start a MySQL container with the appropriate environment variables for your setup (e.g., root pswd, database name, etc.). Replace and with your desired values.
$ sudo docker run --name=my-mysql-container -d mysql/mysql-server:latest

Check Container Status:
Verify that the container is running without issue. You can use the following command
$ docker ps

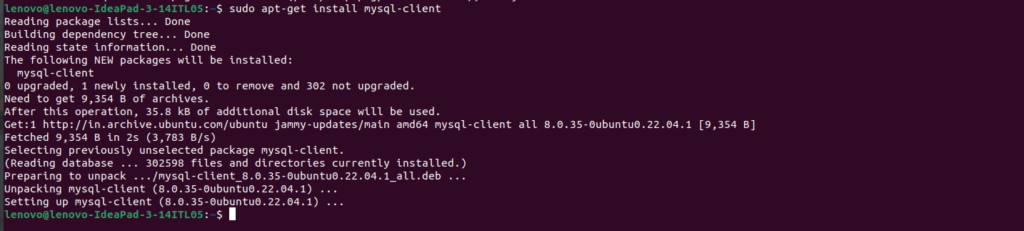
Step 3: Connect to the MySQL Docker Container
Before you can connect the MySQL server container with the host, you need to make sure the MySQL client package is installed:
$ sudo apt-get install mysql-client
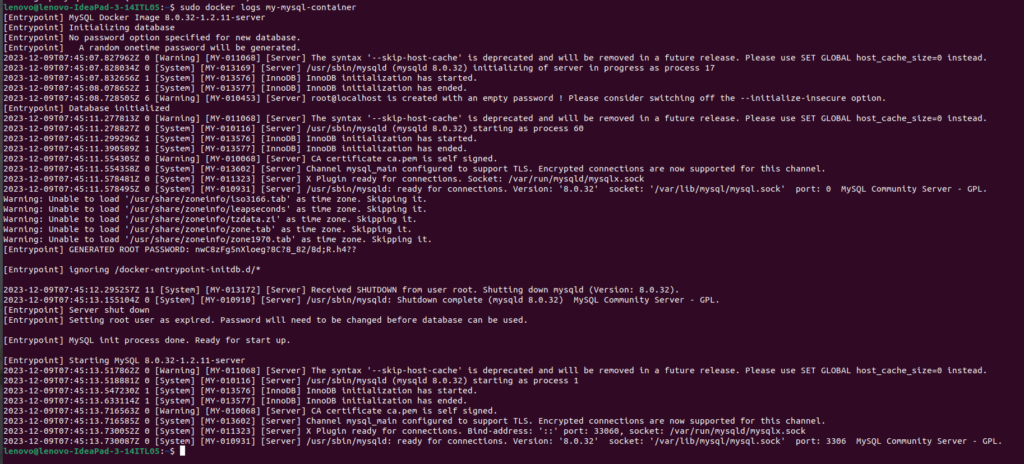
2. Then, open the logs file for the MySQL container to find the generated root password:
$ sudo docker logs [container_name]
[sudo docker logs my-mysql-container]
4. Next, go to the bash shell of the MySQL container by typing:
$ sudo docker exec -it [container_name] bash
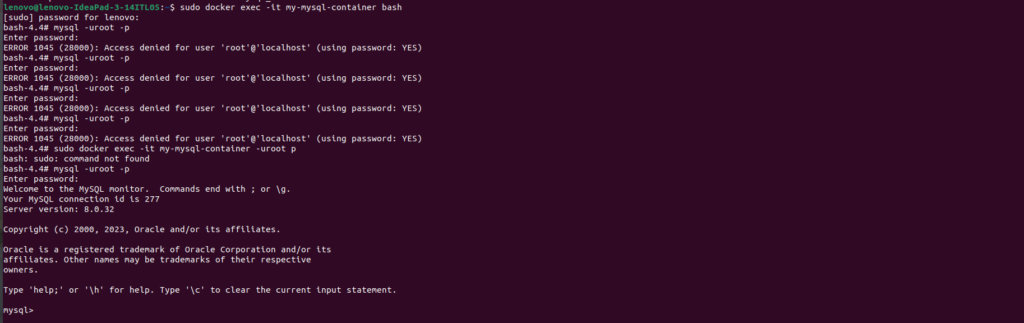
4. Finally, change the server root password to protect your information:
mysql> ALTER USER 'root'@'localhost' IDENTIFIED BY '[newpassword]';

Configure MySQL Container
When you install a MySQL container, you will find its configuration options in the /etc/mysql/my.cnf= directory.
If you need to modify the configuration, create an alternative config file on the host machine and mount them inside the container.
1.First, create a new directory on the host machine:
sudo mkdir -p /root/docker/[container_name]/conf.d2. Create a custom MySQL config file inside that directory:
sudo nano /root/docker/[container_name]/conf.d/my-custom.cnfonce in the file, you can add lines with the desired configuration.
For example, if you want to increase the maximum number of connections to 250 (instead of the default 151), add the following lines to the configuration file:
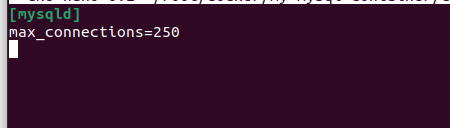
Save and exit the file….
5. For the changes to take place, you need to remove and rerun the MySQL container. This time, the container uses a combination of configuration settings from the newly created file and the default config files.
To do this, run the container and map the volume path with the command:
docker run \

--detach \

--name=[container_name] \

--env="MYSQL_ROOT_PASSWORD=[my_password]" \

--publish 6603:3306 \

--volume=/root/docker/[container_name]/conf.d:/etc/mysql/conf.d \

mysql
6. To check whether the container loaded the configuration from the host, run the following command:
$ mysql -u root -p my_password -h 127.0.0.1 -P 6603 -e ‘ show global variables like “max_connections”‘;
Manage Data Storage
By default, Docker stores data in its internal volume.
To check the location of the volumes, use the command:
sudo docker inspect [container_name]You will see the /var/lib/mysql mounted in the internal volume.

You can also change the location of the data directory and create one on the host. Having a volume outside the container allows other applications and tools to access the volumes when needed.
1. First, find an appropriate volume on the host and create a data directory on it:
sudo mkdir -p /storage/docker/mysql-data2. Now start the container again, mounting the previously made directory:
docker run \

--detach \

--name=[container_name] \

--env="MYSQL_ROOT_PASSWORD=my_password" \

--publish 6603:3306 \

--volume=/root/docker/[container_name]/conf.d:/etc/mysql/conf.d \

--volume=/storage/docker/mysql-data:/var/lib/mysql \mysql
If you inspect the container, you should see that the MySQL container now stores its data on the host system. Run the command:
sudo docker inspect [container_name]The container automatically stops when the process running in it stops.
To start the MySQL container run:
sudo docker start [container_name]Stop the MySQL container, use the command:
sudo docker stop [container_name]To restart the MySQL container run:
sudo docker restart [container_name]Delete MySQL Container
sudo docker rm [container_name]
Hope you like this blog….

- What is Platform Engineering? A Beginner’s Guide - July 23, 2026
- Devops and Cloud Batch 12 Assignment - July 21, 2026
- Deploy a Java Application Using Ansible | Step-by-Step Guide - July 16, 2026