
Jenkins plugin Installation
Introduction:
Continuous integration (CI) has become a cornerstone practice in modern software development, enabling teams to automate the building, testing, and deployment of their applications. Jenkins, an open-source automation server, is a popular choice for implementing CI pipelines due to its flexibility and extensive plugin ecosystem. In this guide, we will walk through the process of installing Jenkins plugins to enhance your CI workflow.
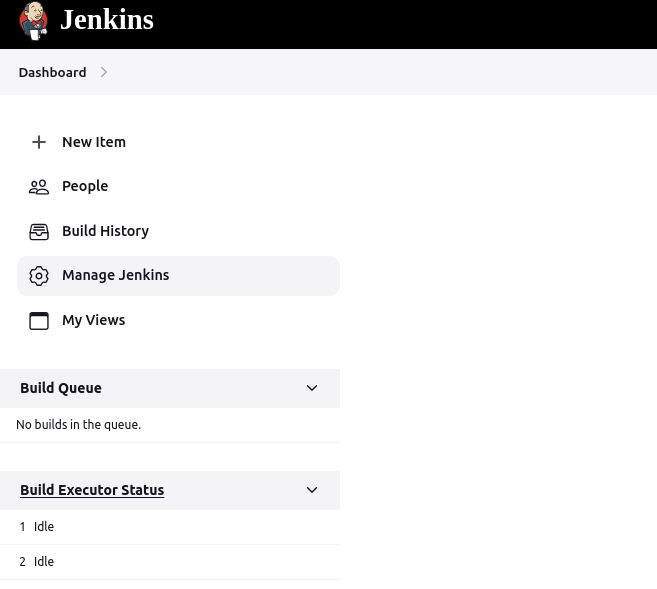
Step 1: Accessing Jenkins Dashboard Before you can install plugins, you’ll need to access your Jenkins dashboard.
Step 2: Navigating to the Plugin Manager
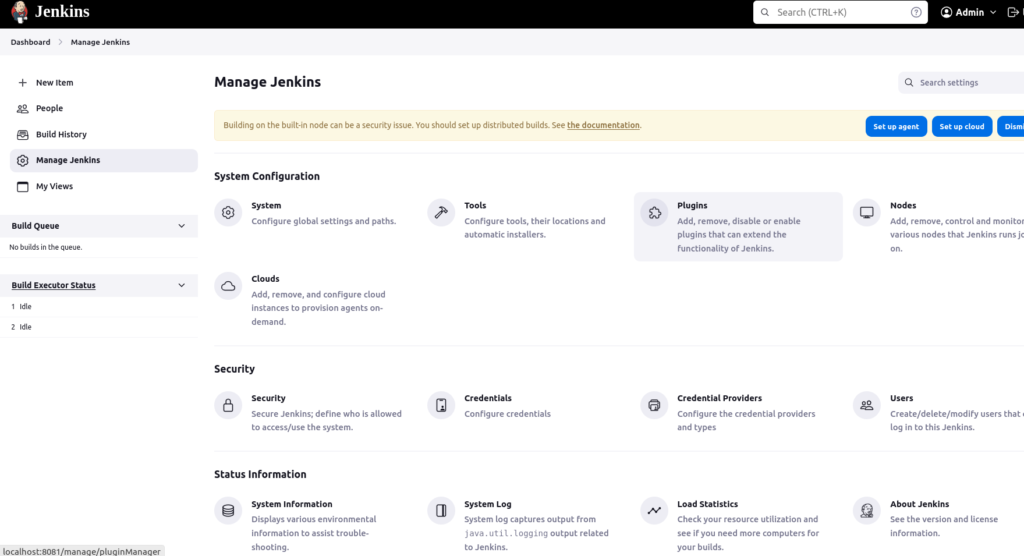
Once you are logged in to the Jenkins dashboard, find the “Manage Jenkins” option on the left side menu.
select “Manage Plugins.” This will take you to the Plugin Manager page.
Read Also-Creating Token For Git Operation
Step 3: Installing Plugins
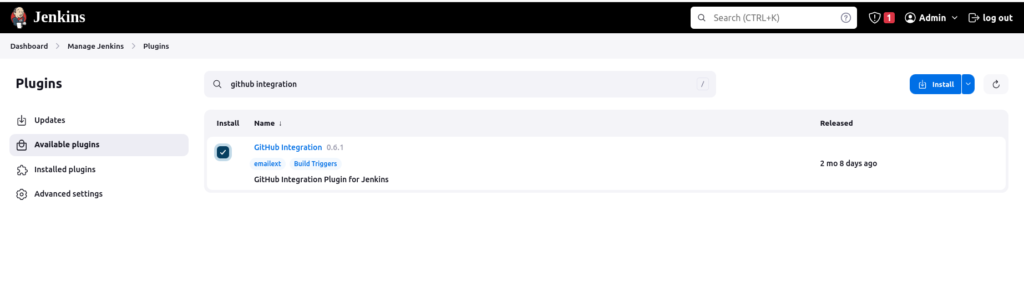
On the plugin manager page, you will find different tabs like “Available,” “Installed,” “Updated,” etc. The “Available” tab lists all plugins that are available for installation.
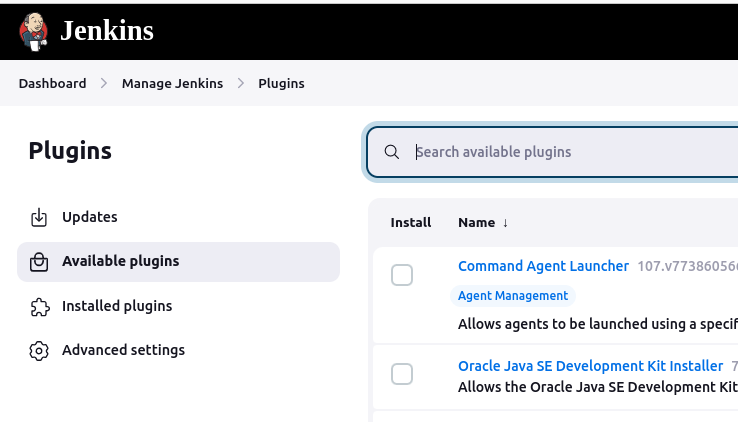
You can either browse the list or use the search bar to find specific plugins.
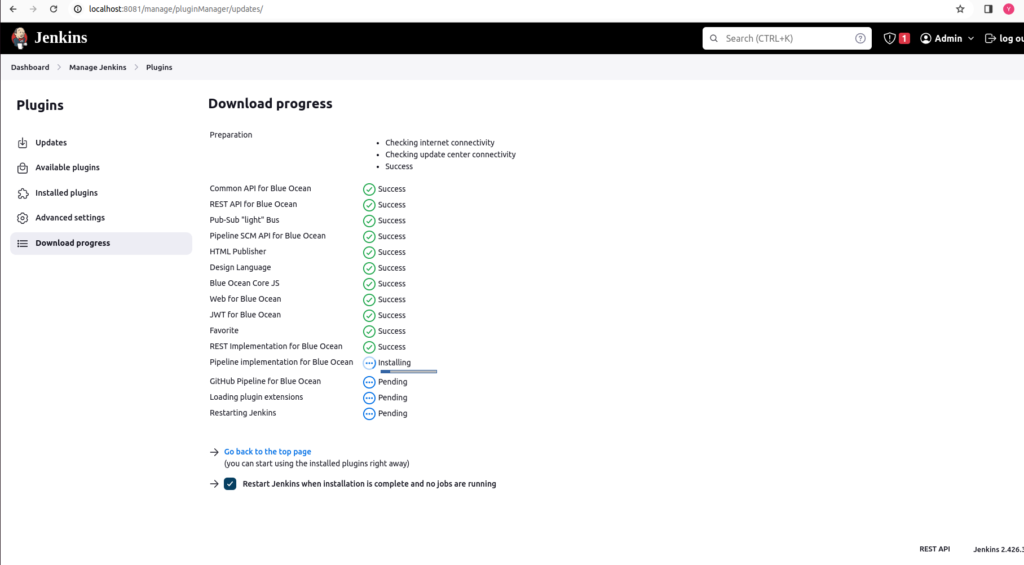
To install a plugin, simply check the box next to its name and click the “Install without restart” button at the bottom of the page. Jenkins will then automatically download and install the selected plugin.
Step 4: Managing Installed Plugins
After you install plugins, you can manage them from the “Installed” tab in the plugin manager. Here, you will see a list of all the plugins that are currently installed on your Jenkins server. You can disable, uninstall, or check for updates for each plugin as needed.

Step 5: configuring plugins
Once the plugins are installed, you can configure them to suit your CI needs. Depending on the plugin, configuration options may vary. You can access plugin configuration by navigating to “Manage Jenkins” > “Configure System” or by clicking on the name of a specific plugin in the “Installed” tab of the Plugin Manager.
Conclusion:
Installing plugins is a straightforward process that can significantly extend the functionality of Jenkins and streamline your CI pipelines. By following the steps outlined in this guide, you can easily enhance your Jenkins setup with the plugins that best meet your project’s needs, ultimately improving your team’s development workflow and productivity.

- ArgoCD Okta integration - July 2, 2026
- Jenkins Okta Integration - June 22, 2026
- Install Apache Tomcat using Ansible – Complete Guide - June 16, 2026