
Creating Public Git Repository
Introduction:
GitHub has become the preferred platform for developers to collaborate, share code, and contribute to open-source projects. One of the fundamental features of GitHub is the ability to create repositories, where you can store your code, documentation, and other project-related files. In this guide, we’ll walk you through the process of creating a public repository on GitHub, allowing you to showcase your work to the world and collaborate with other developers.
How to create GIT public repository
Sign in to GitHub: If you don’t have an account, you’ll need to create one. If you already have an account, sign in.
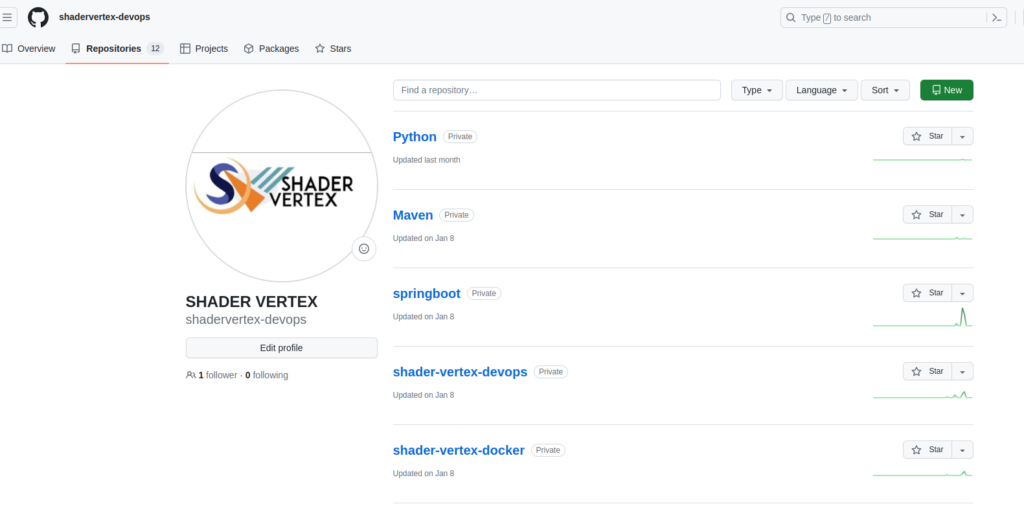
- Navigate to Your GitHub Dashboard: Once signed in, you’ll be directed to your GitHub dashboard.
Step 1) Go to github https://github.com/ and signup by filling information.

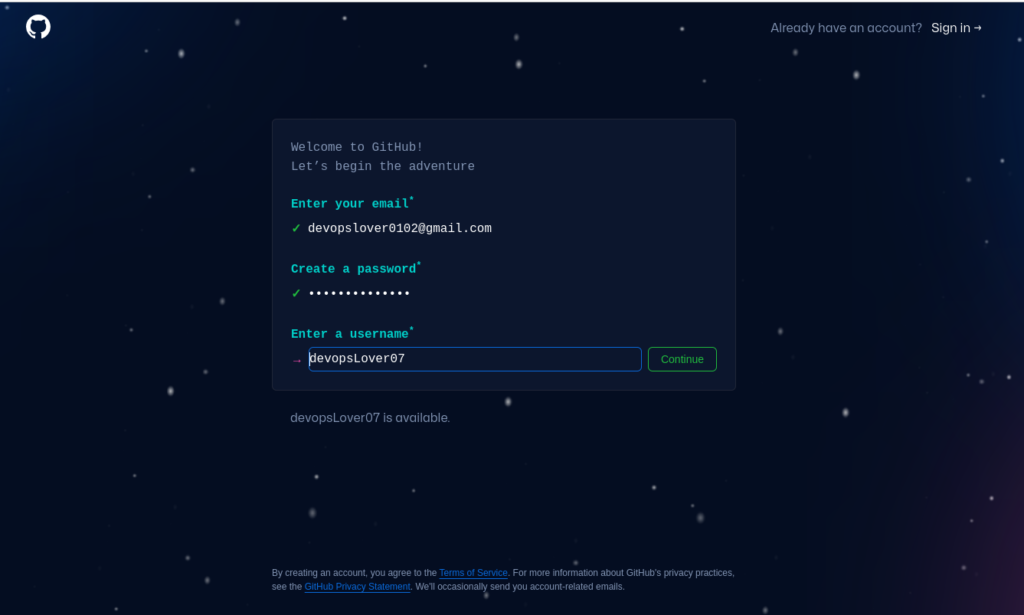
After successfully creating account Github will take you to choose your plan page and we can do repository Git is publicly available to all internet users.
Step 2: Click on the new repository option.
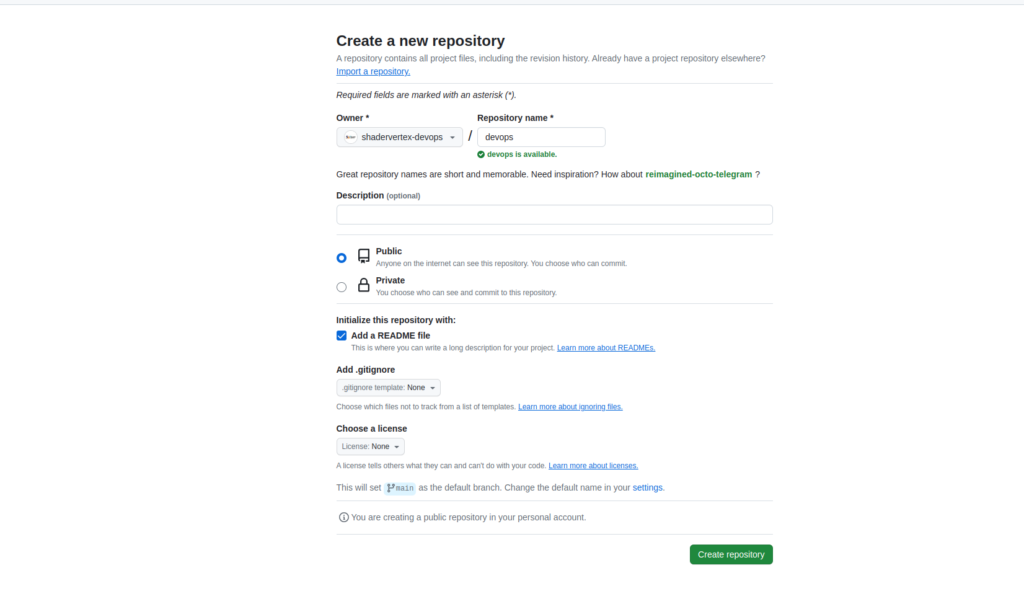
Step 3: After clicking new repository option, we will have to initialize some things like, naming our project, choosing the visibility etc. After performing these steps click Create Repository button.
Fill in Repository Details:
- Repository name: Choose a name for your repository. This should be unique and descriptive.
- Description: Add a brief description of your repository to let others know what it’s about.
- Visibility: Select “Public” to make your repository accessible to everyone.
- Initialize this repository with a README: Check this option if you want to include a README file. A README file typically contains information about your project.
Read Also-Creating Private Git Repository
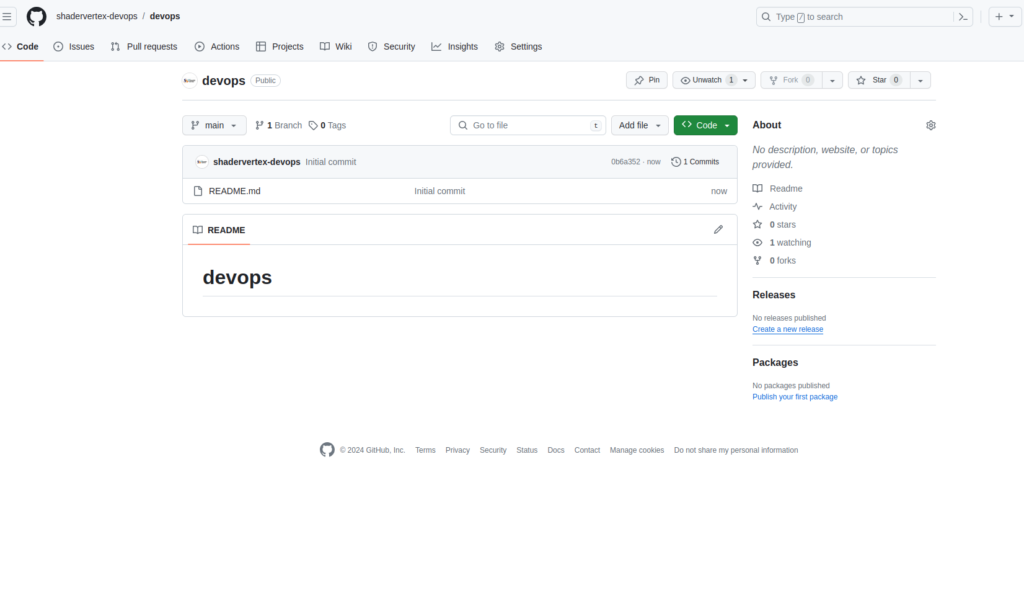
Step 4: After clicking the button, we will be directed to below page. Right now the only file we have is a readme file.
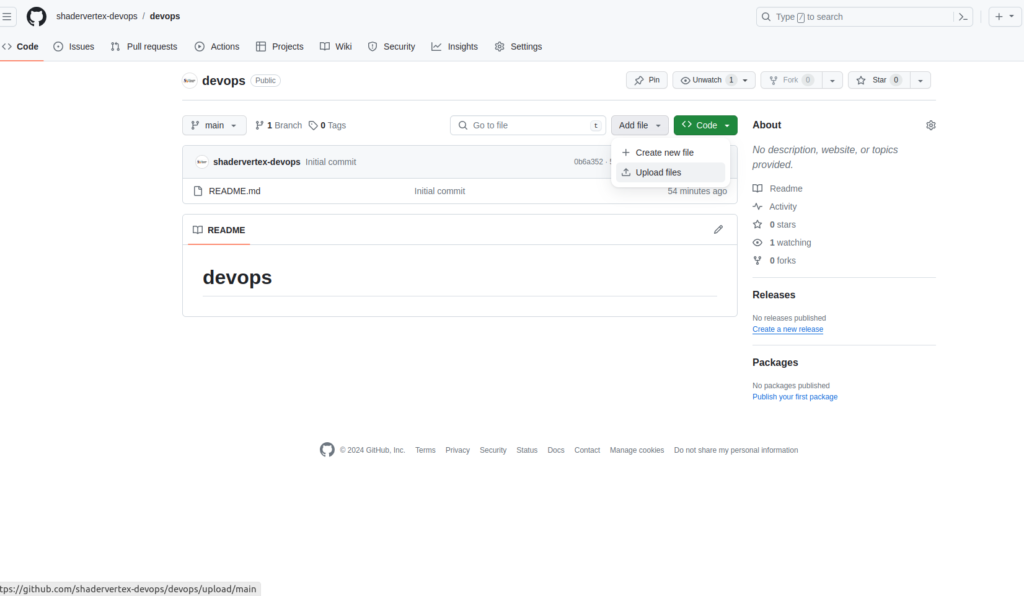
Step 5: Now click on the “Upload files” button.
Step 6: Follow the steps mentioned in the Picture below and click “commit changes”

Conclusion:
Creating a public repository on GitHub is a straightforward process that allows you to share your work with the global developer community. Whether you’re working on an open-source project, collaborating with others, or simply showcasing your code portfolio, GitHub provides you with the tools you need to effectively manage your projects. So why wait? Start creating your public repository today and join the thriving community of developers on GitHub!

- ArgoCD Okta integration - July 2, 2026
- Jenkins Okta Integration - June 22, 2026
- Install Apache Tomcat using Ansible – Complete Guide - June 16, 2026