
What is Docker registry?
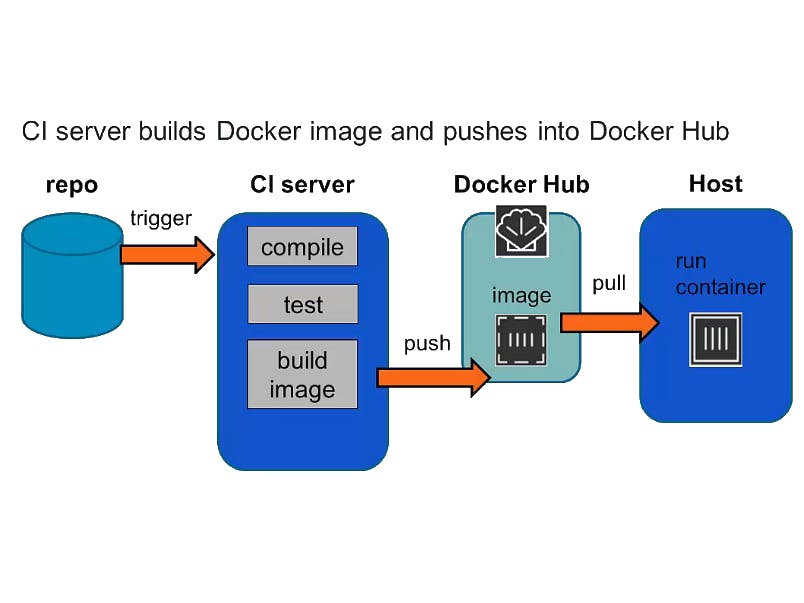
A Docker registry is a centralized repository for storing and distributing Docker container images. It serves as a scalable and secure storage solution for Docker images, allowing developers and organizations to easily share, manage, and deploy containerized applications.The Docker registry provides a platform for both public and private repositories.The Docker registry follows a client-server architecture. The Docker client interacts with the registry to perform operations such as pushing (uploading) and pulling (downloading) container images.
Prerequisites:
1. Operating system compatibility:
Docker is compatible with various operating systems such as Linux, macOS, and Windows.
2. Hardware requirements:
Docker has modest hardware requirements, but it does benefit from having a reasonably powerful machine. Generally,
64-bit processor
2GB of RAM minimum,
sufficient disk space.
3. Supported virtualization technology:
Docker relies on underlying virtualization technologies to create and manage containers. On Linux, it uses the native Linux containerization features.
On macOS and Windows, it utilizes lightweight virtual machines (e.g., Docker Desktop for Mac/Windows).
4. Software dependencies:
Docker may have dependencies on other software components, such as a supported version of Docker Engine, Docker Compose, or Docker Swarm, depending on your use case.
Ensure that you review the Docker documentation to understand and install any necessary dependencies.
To set up and register a Docker registry, follow these steps:
Important: Make sure to remove any older Docker installations before installing a new one.
Use following command:
$sudo apt-get remove docker docker-engine docker.io containerd runc
Update the Package Repository
$sudo apt update
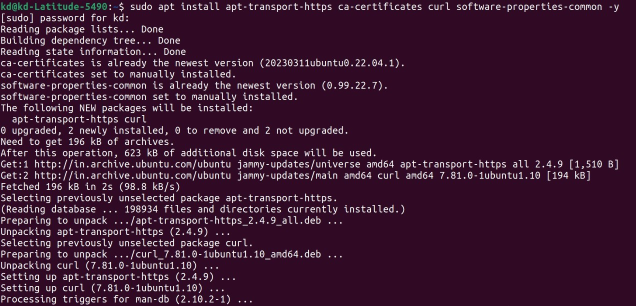
Install Prerequisite Packages
$sudo apt install apt-transport-https ca-certificates curl software- properties-common -y
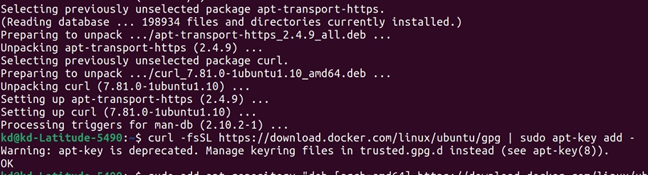
Add GPG key:
$curl -fsSL https://download.docker.com/linux/ubuntu/gpg | sudo apt-key add –
Add Docker Repository:
$sudo add-apt-repository “deb [arch=amd64] https://download.docker.com/linux/ubuntu $(lsb_release -cs) stable”

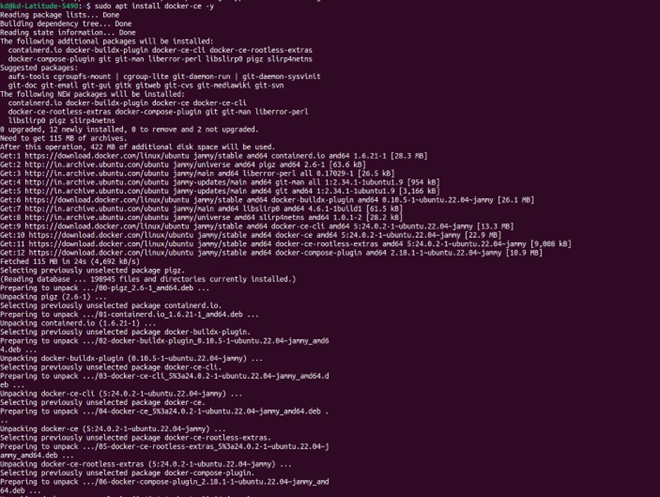
$apt-cache policy docker-ce

$sudo apt install docker-ce -y
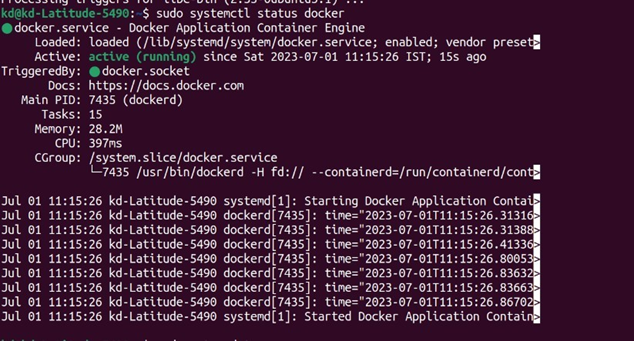
Check Docker Status
$sudo systemctl status docker
Update system:
$sudo apt update

Working with Docker Images
1. Search for Docker Images
sudo docker search [keyword] Ex: sudo docker search ubuntu
2. Pull a Docker Image
sudo docker pull ubuntu
3. See Downloaded Images
sudo docker images
So let’s working on Docker Registry how to load (pull) image and Store (push) it in the particular container.
Make sure the above steps you have followed successfully.
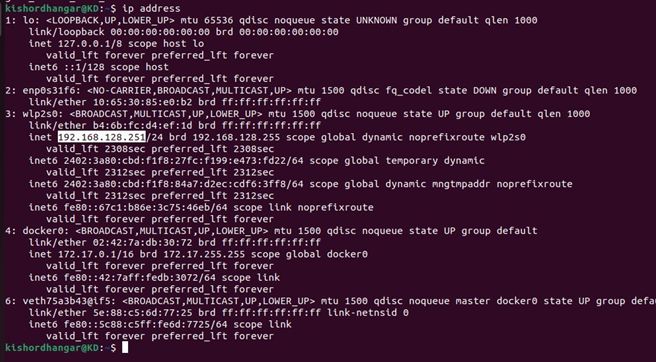
Step 1. Check your IP Address using following command and note is down.
$ ip address
my ip address is 192.168.128.251
Use following command to create a repository and pull and push images in the container
- sudo docker run -d -p 5000:5000 –name registry registry:latest
- sudo docker run -d -p 5000:5000 –restart=always –name registry -v $(pwd)/docker-registry:/var/lib/registry
registry:latest
- sudo docker pull alpine (pulling image from online)
- sudo docker tag alpine your_ip_address:5000/alpine (tag your image with your ip address and port)
- sudo docker push your_ip_address:5000/alpine (pushing image to container)
- curl -X GET http://192.168.145.130:5000/v2/_catalog
(to see your pushed images 192.168.145.130 in here put your ip address ) Ex: (curl -X GET http://your_ip_address:500/v2/_catalog)
- $ sudo nano /etc/docker/daemon.json
The following content save to the daemon.json (your_ip_address:500(port))
{
“insecure-registries”:[“your_ip_adrress:5000”],
}
Docker registries support features like versioning, image signing, access control, and replication to ensure reliability, security, and scalability. They play a crucial role in facilitating the adoption and deployment of container-based applications by providing a central hub for managing and sharing Docker images.
Hope you like this blog….

- ArgoCD Okta integration - July 2, 2026
- Jenkins Okta Integration - June 22, 2026
- Install Apache Tomcat using Ansible – Complete Guide - June 16, 2026