
Introduction to Selenium Automation Testing with Python on Ubuntu
This blog will introduce Selenium, its uses, and how to set it up on an Ubuntu operating system.
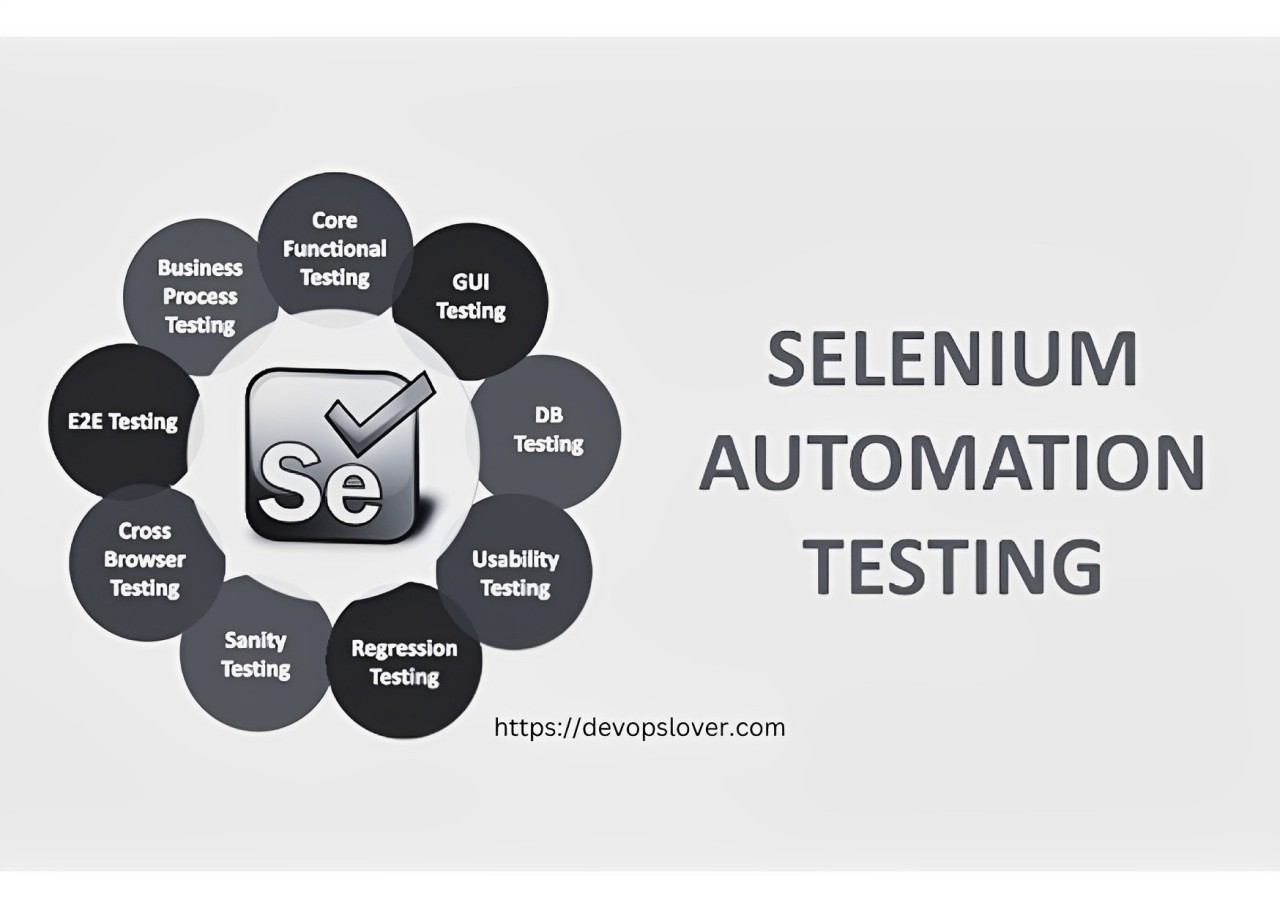
Selenium is a widely-used tool for automating web applications. It is open-source and allows you to write test scripts in various programming languages. Using Selenium with Python is popular due to Python’s simple and readable syntax.
What is Selenium?
Selenium is an automation testing tool used for:
- Functional Testing: Ensuring that web applications work as expected.
- Regression Testing: Checking if new code changes have affected existing functionality.
- Cross-Browser Testing: Testing applications across different browsers like Chrome, Firefox, and Edge.
Why Use Selenium with Python?
- Ease of Learning: Python’s syntax is straightforward and easy to understand.
- Comprehensive Libraries: Python has a vast collection of libraries that can enhance Selenium’s capabilities.
- Strong Community Support: There is extensive documentation and a supportive community for Selenium with Python.
Manual Testing vs. Automation Testing
Manual Testing involves human testers manually interacting with the application to identify defects. This approach is useful for exploratory testing, usability testing, and ad-hoc testing. It is essential for understanding the user experience and finding issues that automated tests might miss.
Automation Testing involves using tools like Selenium to automate repetitive and time-consuming test cases. Automation is ideal for regression testing, load testing, and performance testing. It helps in executing tests quickly and consistently, freeing up time for testers to focus on more critical tasks.
Preparing for Selenium Testing on Ubuntu
Before testing any application with Selenium on Ubuntu, follow these steps:
Install Python:
- Ensure Python is installed on your system. You can check this by running:
python3 --version
- If Python is not installed, you can install it using:
sudo apt update sudo apt install python3 python3-pip
Install Selenium:
pip3 install selenium
Download WebDriver:
- Selenium requires a WebDriver to interact with the browser. Depending on the browser you use, download the appropriate WebDriver:
- installations steps –
- 1. Download supported webdriver for chrome browser (version is important)
- 2. Once is downloaded select path of webdriver and run following commands
- installations steps –
Setting Up the WebDriver:
unzip chromedriver_linux64.zip

sudo mv chromedriver /usr/bin/chromedriver

sudo chown root:root /usr/bin/chromedriver

sudo chmod +x /usr/bin/chromedriver
Setting Up PyCharm for Selenium Testing
PyCharm is a powerful IDE for Python development and provides excellent support for Selenium testing. Here’s how to set it up on Ubuntu:
- Install PyCharm:
- You can install PyCharm from the Snap store:
sudo snap install pycharm-community --classic
- Create a New Project:
- Open PyCharm and create a new project. Make sure to set the project interpreter to Python 3.
- Install Selenium in PyCharm:
- Open the terminal in PyCharm and run:
pip install selenium
- Configure the WebDriver:
- Ensure your WebDriver is configured as described above.
- Install Required Plugins:
- Robot Framework Support: For Robot Framework, install the Intellibot plugin.
- Go to File > Settings > Plugins > Marketplace and search for Intellibot.
- Install the plugin and restart PyCharm.
- Pytest Support: PyCharm has built-in support for pytest, but you can also install additional plugins if needed.
- To install pytest, run:
- Go to File > Settings > Plugins > Marketplace and search for Intellibot.
- Robot Framework Support: For Robot Framework, install the Intellibot plugin.
pip install pytest
- SeleniumLibrary for Robot Framework:
- If you are using Robot Framework, install the SeleniumLibrary:
pip install robotframework-seleniumlibrary
- If you are using Robot Framework, install the SeleniumLibrary:
# Update package list
sudo apt update

# Install Python 3 and pip
sudo apt install python3 python3-pip

# Verify Python installation
python3 --version

# Install PyCharm Community Edition
sudo snap install pycharm-community --classic

# Launch PyCharm
pycharm-community

# Install Selenium
pip3 install selenium

# Install Robot Framework
pip3 install robotframework

# Install SeleniumLibrary for Robot Framework
pip3 install robotframework-seleniumlibrary

# Install Upgraded Robot Framework
pip install --upgarde robotoframework
- Write Your First Test:
- Create a new Python file in your PyCharm project and start writing your Selenium tests.
Summary
Selenium is a powerful tool for automating web applications, and using it with Python on Ubuntu provides a robust environment for testing. By following the setup steps outlined above, you can prepare your system to run Selenium tests effectively.

- Jenkins Okta Integration - June 22, 2026
- Install and Configure Apache Tomcat Using Ansible - June 16, 2026
- Docker Container Monitoring Dashboard using Prometheus and Grafana - June 15, 2026