In this blog, we’ll introduce Robot Framework specifically for Selenium testing, its benefits, and how to set it up on an Ubuntu system.
Robot Framework is a versatile open-source automation framework that simplifies the process of writing and running Selenium tests on Ubuntu.
What is Robot Framework?
Robot Framework is designed for automated testing and robotic process automation (RPA). It uses a keyword-driven approach that allows testers to write tests in a readable, human-friendly format. Here are the key features of Robot Framework for Selenium testing:
- Keyword-Driven Testing: Write tests using keywords that represent actions, making tests easy to understand and maintain.
- Cross-Platform: Works on various operating systems including Ubuntu, Windows, and macOS.
- Extensible: Supports integration with external libraries and tools, including Selenium for web automation.
- Rich Ecosystem: Offers a wide range of libraries and plugins for extended functionality.
Why Use Robot Framework for Selenium Testing?
- Simplicity: Easy-to-read syntax that simplifies test creation and maintenance.
- Flexibility: Supports various test automation needs beyond Selenium, such as API testing and RPA.
- Integration: Seamless integration with SeleniumLibrary for web automation tasks.
- Reporting: Generates detailed test reports and logs, aiding in test analysis and debugging.
Setting Up Robot Framework for Selenium Testing on Ubuntu
To start using Robot Framework for Selenium testing on Ubuntu, follow these steps to set up your environment:
1. Install Python
Ensure Python 3 and pip are installed on your Ubuntu system:
sudo apt update
sudo apt install python3 python3-pip
Verify the installation:
python3 --version2. Install Robot Framework
Install Robot Framework using pip:
pip3 install robotframework3. Install SeleniumLibrary for Robot Framework
Install SeleniumLibrary to enable Selenium integration:
pip3 install robotframework-seleniumlibrary4. Set Up PyCharm (Optional)
If you prefer using PyCharm for development, follow these steps:
- Install PyCharm: Install PyCharm Community Edition via Snap:
sudo snap install pycharm-community --classic- Create a Project: Open PyCharm, create a new project, and set the project interpreter to Python 3.
- Install Robot Framework Plugin: Go to File > Settings > Plugins > Marketplace and search for Intellibot. Install the plugin for Robot Framework support.
Writing Your First Selenium Test with Robot Framework
Let’s create a simple test to open a website and verify its title:
- Create a Test File
In your project directory, create a new file named test_example.robot.
- Write the Test
*** Settings ***
Library    SeleniumLibrary

*** Variables ***
${URL}    https://devopslover.com
${BROWSER}          chrome


*** Test Cases ***
Open Browser And Verify Title
    Open Browser    ${URL}    ${BROWSER}
    Maximize Browser Window
Run the Test
Open a terminal, navigate to your project directory, and run the test using Robot Framework:
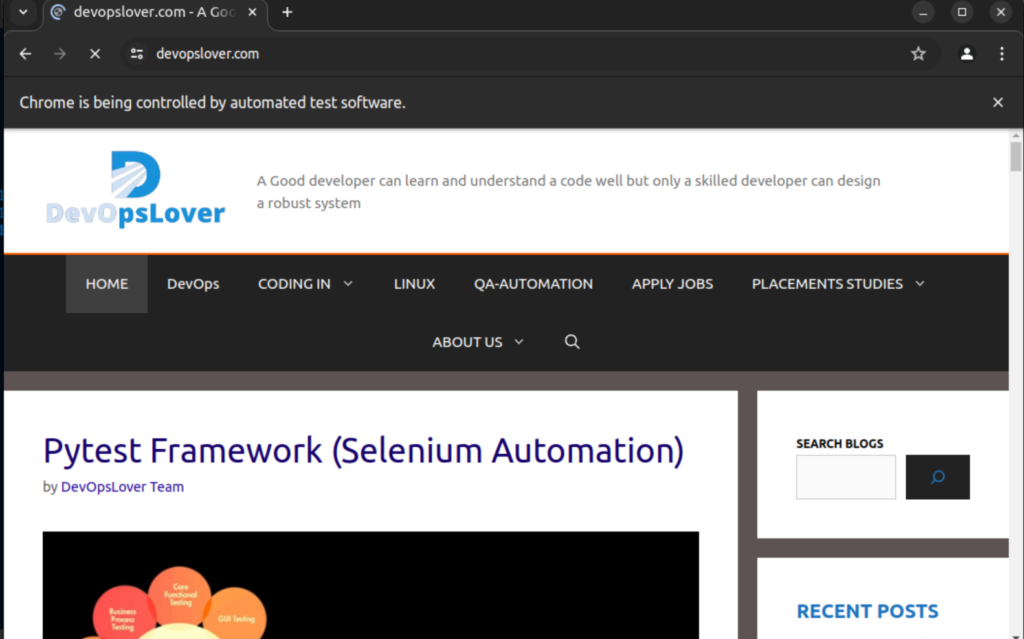
robot test_example.robotIf your setup is up to date then you will see look like this..( Chrome being controlled by automated test software)

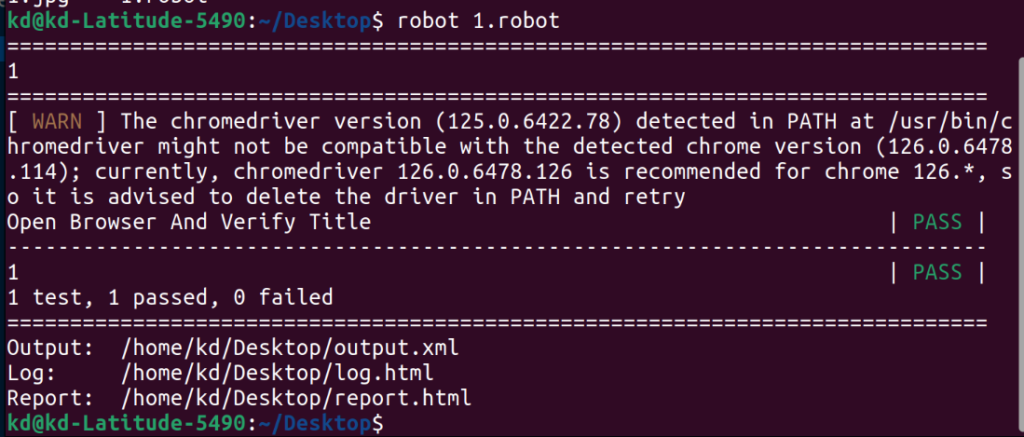
Output –

Summary
Robot Framework provides a powerful yet straightforward approach to Selenium testing on Ubuntu. By following the setup steps and creating your first test, you can leverage its capabilities to automate web testing efficiently. Whether you’re testing web applications or performing other automation tasks, Robot Framework’s versatility and ease of use make it a valuable tool in your testing toolkit.
Installation Summary
Here’s a quick summary of the installation commands:
# Update package list
sudo apt update

# Install Python 3 and pip
sudo apt install python3 python3-pip

# Verify Python installation
python3 --version

# Install Robot Framework
pip3 install robotframework

# Install SeleniumLibrary for Robot Framework
pip3 install robotframework-seleniumlibrary
These steps will get you up and running with Robot Framework for Selenium testing on your Ubuntu system.
See also – Pytest Framework (Selenium Automation)
Thanks –
- AI Tools for Developers: Top AI Tools Every Developer Should Know in 2026 - February 12, 2026
- What is AI? 7 Powerful and Easy Facts – Complete Beginner Guide - February 12, 2026
- How to Set Up an Okta Account – Easy & Secure Step-by-Step Guide for 2026 - January 9, 2026

