
1) What is the AWS Management Console?
The AWS Management Console is your go-to web-based interface for managing over 200 AWS services, including Amazon EC2 (virtual machines) and Amazon S3 (cloud storage). Whether you’re a beginner or an advanced user, this user-friendly platform lets you search for services, switch regions, monitor usage, and launch resources—all without touching the command line.
Sign in here: AWS Console Login
Related Reading: What is AWS? A Beginner’s Guide
Think of it like the dashboard of your car.
- Your car’s dashboard shows speed, fuel, warnings, and lets you control things.
- The AWS Management Console is the same — it’s the dashboard where you control all AWS services.
Whether you want to launch a server (EC2), store files (S3), or set up a database (RDS) — everything starts from this console.
In this blog, we’ll walk step by step through the AWS console, understand what each part means, and learn some beginner tips to avoid confusion (and surprise bills 🚨).
This tool is perfect for those new to cloud computing, offering a visual way to explore AWS services securely.
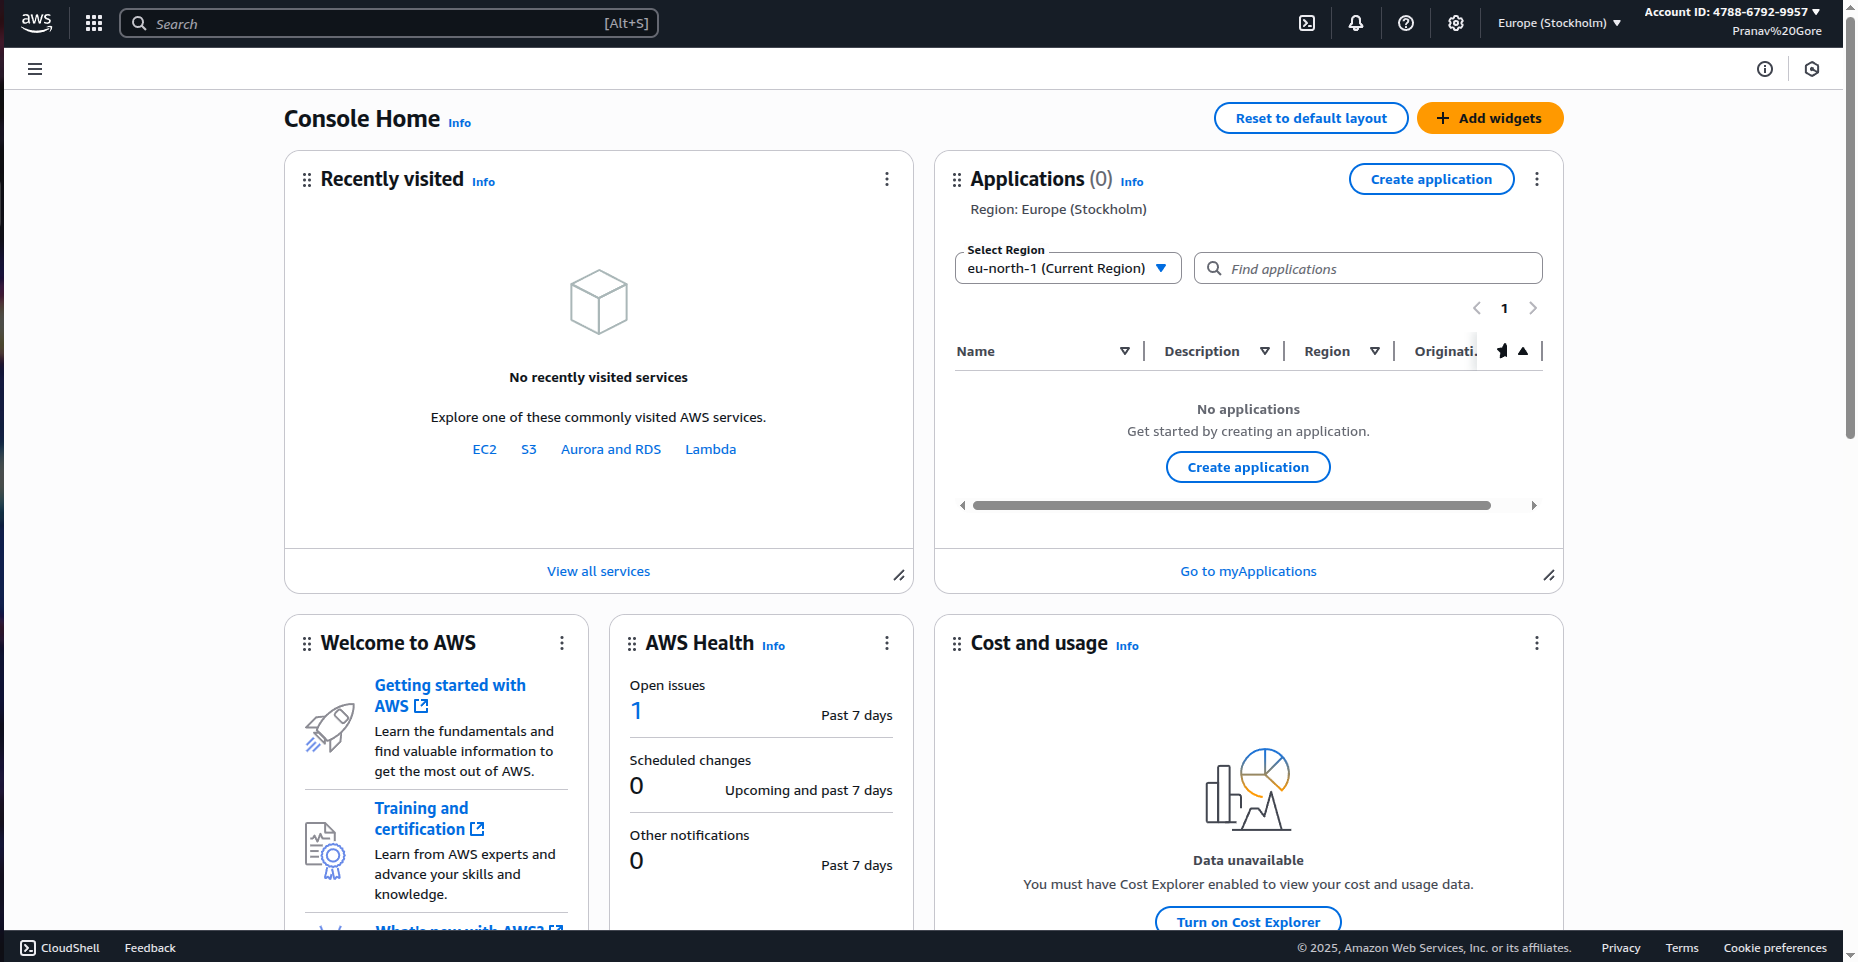
2) Meet the Console Home (tour)
When you log in, you’ll land on Console Home. You’ll see:
- Search bar at the top – find any service quickly.
- Region selector (top‑right) – choose where your resources live.
- Account menu – billing, security credentials, and Free Tier credits.
- Navigation menu (☰) – links to services and features.
- Widgets – Welcome to AWS, Cost & usage, Health, etc.
Console Home overview
Tip: You can Reset to default layout or Add widgets from the Console Home page.
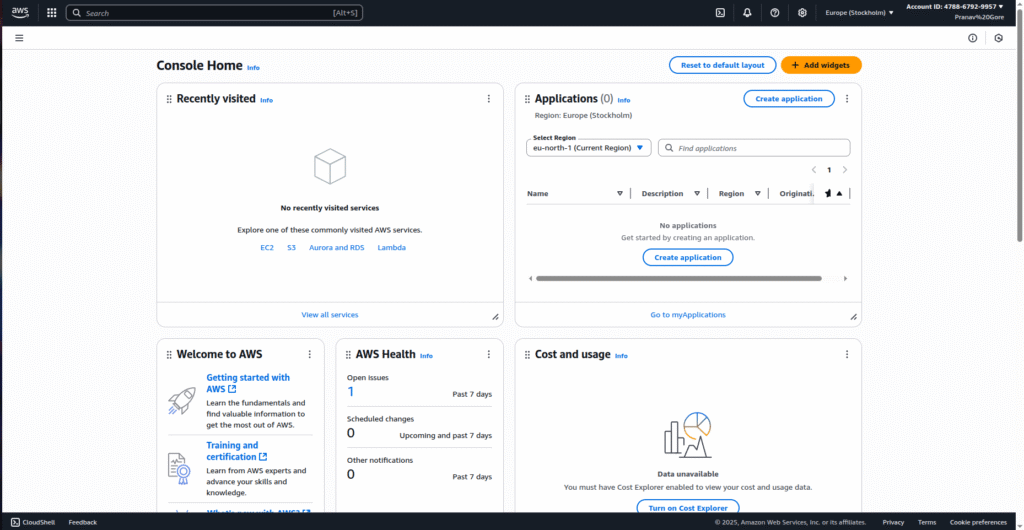
3) Regions – where your resources live
AWS is global. A Region is a geographic area (like US East (N. Virginia) or Europe (Stockholm)). Always pick a region close to your users and stick to it so you can find your resources later.
How to change region: Click the region dropdown in the top‑right and select your preferred region.
Region selector with popular regions
Free Tier tip: Free Tier works in every region, but service availability and prices differ by region. Choose one region and use it consistently.
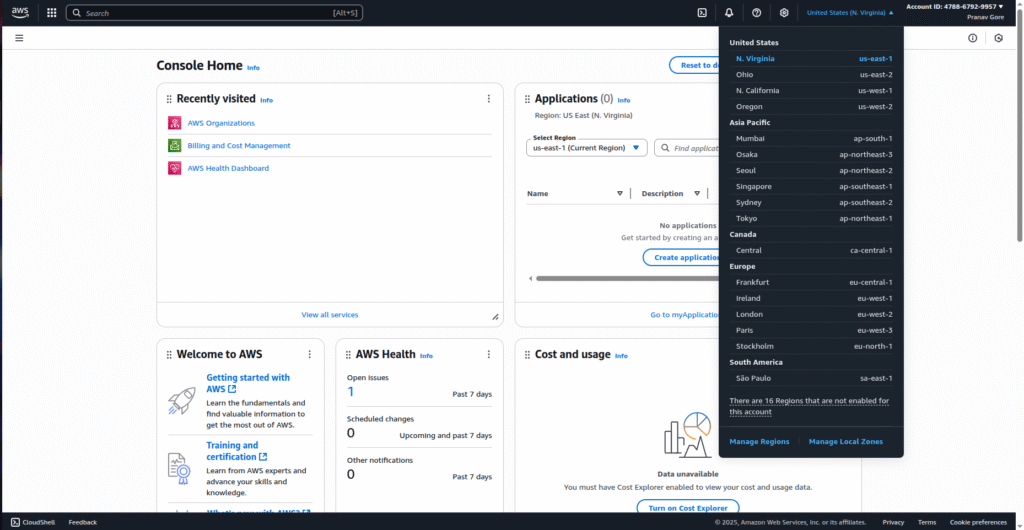
4) Account menu – Free Tier credits & settings
Open the Account dropdown (your name in the top‑right). Here you can see:
- Free plan / credits remaining and days left.
- Links to Billing & Cost Management, Security credentials, Organizations, etc.
Account menu showing Free plan status
Turn on multi‑session support only if you need to manage multiple logins in the same browser.
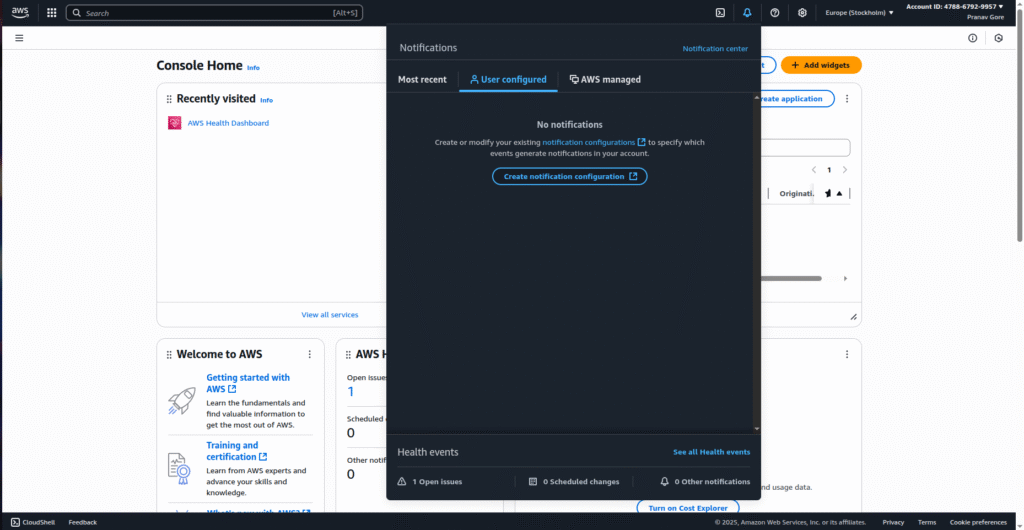
5) Notification Center
Click the bell icon (🔔) to check AWS notifications for your account, service health, and automated alerts.
Notification Center
6) Finding services – two easy ways
A) Use the Search bar
Type a service name like EC2 or S3 and hit Enter.
B) Browse All services
Open the left menu (☰) → All services. Services are grouped by category (Compute, Storage, Database, Networking, Security, etc.).
All services – categories list

7) Quick demo – open EC2 and S3 from the console
Open EC2 (your first VM)
- In the search bar, type EC2 → open EC2 Dashboard.
- Click Launch instance to start the wizard.
- For learning, pick a Free Tier eligible AMI and instance type (e.g., t2.micro / t3.micro).
- Stop here if you’re just exploring. (⚠️ Launching will create a billable resource if left running).
👉 If you want step-by-step guidance, check my detailed tutorial on How to Create an EC2 Instance in AWS.
Open S3 (object storage)
- Search S3 → open Amazon S3.
- Click Create bucket → name it globally unique → keep defaults for learning.
- Upload a small test file to understand folders/objects.
👉 To dive deeper, read my full guide on What is S3 in AWS?.
⚠️ Important: Cleanup
Always delete test resources (EC2 instances, EBS volumes, S3 objects/buckets) after practice to avoid charges.
👉 If you are just starting out, first go through How to Create an AWS Account before trying EC2 or S3.
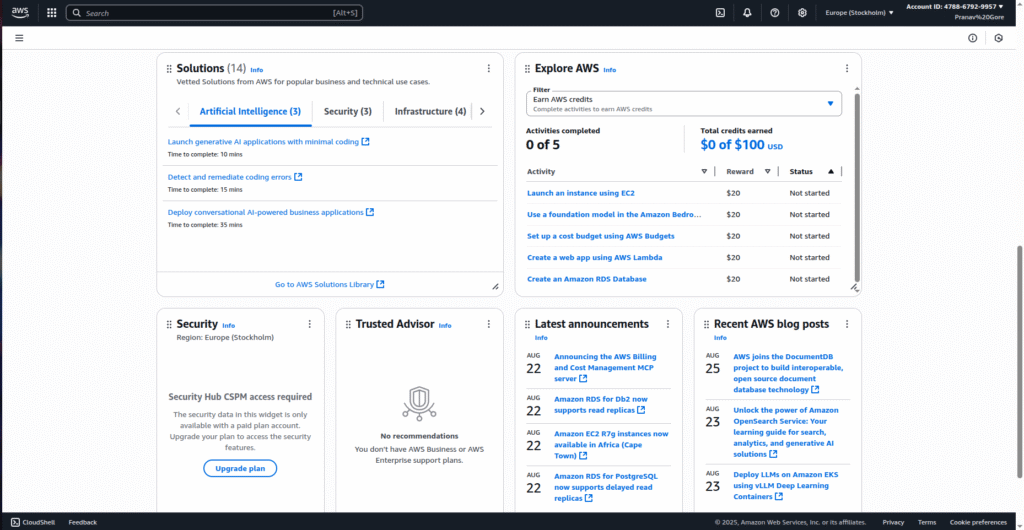
8) Explore AWS (earn credits)
Some accounts show a Explore AWS widget with tasks that award credits (e.g., launch EC2, create Lambda app). Only complete tasks you actually need, and always shut down resources.
Explore AWS credits tasks
9) Why the Console is useful
- No CLI needed – perfect for beginners.
- Fast discovery – search any of 200+ services.
- Visual control – dashboards, graphs, health, and cost widgets.
- Account safety – easy access to billing, budgets, and IAM.
10) Safety checklist (Free Tier friendly)
- Create a Billing alarm and a Budget.
- Prefer Free Tier eligible options (look for the label during wizards).
- Stop/terminate EC2 instances when not in use.
- Empty & delete S3 buckets made for testing.
- Work in one region to avoid missing stray resources.
FAQs
Q. Do I need the CLI to use AWS?
No. The Console is enough for learning. CLI/IaC (CloudFormation/Terraform) come later.
Q. My service view is empty. Why?
Check the region – you may be in the wrong one.
Q. How do I avoid charges?
Use Free Tier options, set a budget alarm, and delete/stop resources after labs.
Summary
You learned the Console layout, how to switch regions, where to find account & credits, how to open EC2 and S3, and best practices to stay within Free Tier. You’re now ready for hands‑on blogs like creating your first S3 bucket and launching an EC2 instance.

- ArgoCD Okta integration - July 2, 2026
- Jenkins Okta Integration - June 22, 2026
- Install Apache Tomcat using Ansible – Complete Guide - June 16, 2026